Busy 3 Day Weekend.

Standard

Things are moving right a long since I  finished with the paint. I started early Saturday morning on finishing some small details on some of the parts and then took down the plastic that was up protecting things from over spray, it was up for about a year. Took everything out of the garage and cleaned things up. That sure felt good.

My goal this weekend was to get the rear fenders on, tail gate and  bed wood done finishing with the  front fenders by Monday night. So during the week I can start on the cab insulation and install the carpet, mount the seat then move onto the doors by next weekend.


IMG_20150523_234434307IMG_20150523_234726IMG_20150524_120732805IMG_20150524_163856079IMG_20150524_212253805IMG_20150525_143527630IMG_20150525_143543490

Finished the day with the alignment of the hood and fenders.


Rim Selection

Standard

Within a couple of months I will be selecting a set of rims. Today I made a trip to Collins Custom Wheels & Wheelcovers in Bellflower Ca. They are well know for custom wheels and will set the center based on your specs, (You can also catch Tim at Long Beach or Pomona Swap meets), they can do it all for you. If you lost a hub cap you might find a match there. I seen a full selection of different style hub caps.

I took a few pics to look over. I currently have chrome 15×8 smoothies. With my wider rear fenders I’m looking to go wider and deeper. Also, looking to change things up with a different look. Below are some of the selections available.

This pic is what I’d like to do. Paint the rim either black or same color as truck and have the chrome cap and ring.

IMG_20150417_103207784

Whats your thoughts and likes to these trucks?

15x12

15×12

See anything you like?

See anything you like?

How about this selection.

How about this selection.

I see a few on this one I like.The top left would be my second choice but all chrome and deep in bac, 15x8 front 15x12 back.

I see a few on this one I like.The top left would be my second choice but all chrome and deep in bac, 15×8 front 15×12 back.

Weekend work 2

Standard

Spent some good time this weekend on my project and got the bed painted. Doing things in a garage has its limitations and it creates extra work moving things around but the project is moving along and its getting done, its nice to see some paint get on these parts I worked on for a year.

I wet sanding up to 600 grit then applying a sealer coat, before applying two wet coats of paint, before shooting clear.

Other pieces I shot today was the inside of the glove box, and gauge cluster. Next will be to wet sand the rear fenders and tail gate during the week and spray next weekend.

IMG_20150412_144629685

IMG_20150412_144552080IMG_20150412_144248532_HDRIMG_20150412_144257346_HDR


Installation of Holley Electric Choke

Standard

About two months ago I purchased a electric choke kit from Speedway Motors, part number 427-45223 for my 600cfm Holley.

Two years ago I got this sweet deal on a new manual choke Holley 600cfm carb for $200 so I replaced my Edelbrock 650cfm. Very noticeable difference in performance running the Holley. When I purchased the truck it had a Holley 750cfm double pumper, but it leaked and needed rebuilding so the Edelbrock 650cfm was installed in 2004.

With all the bodywork and smooth  firewall I had to add the electric choke to the Holley since the manual choke cable is gone.

Overall installation took a hour.

IMG_20150402_213435742

You get all this in the kit.

IMG_20150402_213446416

Before starting to take things off.

IMG_20150402_213905235

Pretty easy instructions to follow. I have to use the old spring but install a new idle lever. It has a different angle with the adjustment screw.

IMG_20150402_220834217

Pull off the post.

IMG_20150402_221628725

After placing the new idle lever the base of the choke is mounted using the screws supplied with the kit. After, you want to make sure the throttle plate moves freely, and recheck your work.

IMG_20150402_224657955

When installing the cap you have to place the coil loop into the tab on the base. Install the three screws and turn the cap and watch the throttle plate close and open. Set the cap with the notch on a line on the base. The plate should be closed position. I will need to watch for proper opening as the coil warms up and pulls the throttle plate open. Additional adjustment will be needed then.

IMG_20150402_225537574

Got the ground connected and the 12v side. I had never removed the old hot when I removed the Edlebrock so I was one step ahead.

Weekend Work

Standard

Having a demanding day job, its tough to find time to finish my 56. I got some time in this past weekend starting with Friday night and then Saturday afternoon, and into the night, then Sunday afternoon.

I plan on painting the truck in pieces starting with the dash (since its a different color), then the inner fender wells, under hood, front air defectors, gravel valance.

So I spent some quality time on those items this weekend. All the pieces had couple of coats of primer already, so blocking and filling was the game plan. Here are some of the photos. Oh, I also shot paint on the backside of the tail gate to see how the tuff skin would look.

I plan on working on these items again during the week, after work. I need to sand down the filler and spot prime these pieces. I will post some pics after that. You can catch my pics on Instagram as edsf100 and my page on FB is edsf100.  Have a good week.

IMG_20150329_185446372

IMG_20150329_185303563IMG_20150328_181129134IMG_20150328_182640015IMG_20150328_195701865


Altman Latches Install 1953-56 Ford F-100 trucks

Standard

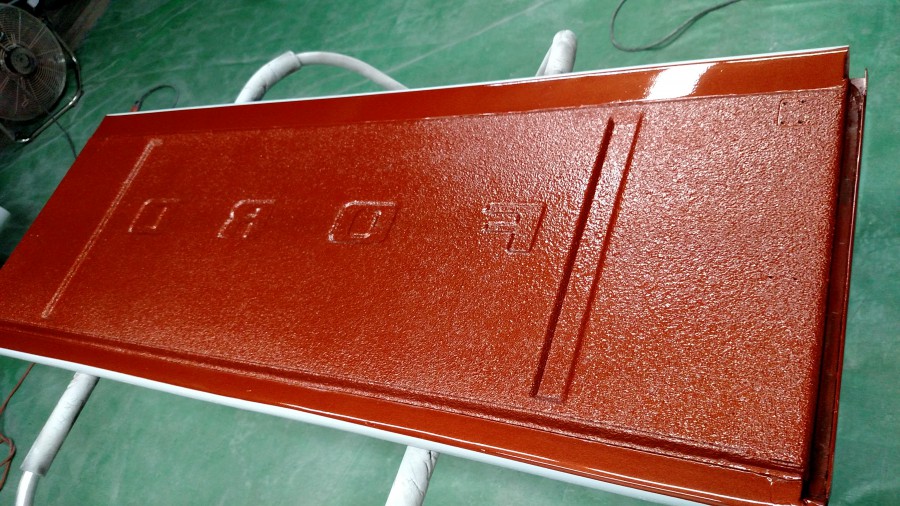
You can install these three ways. Since my doors are taken apart and stripped down I mounted the locking mechanism inside the door. You can consider one of the following. Use the instructions and cut a area for the latch and mount the plate on top of the door skin (more for your already painted truck), or use the plate as a template to cut out that area from the door and weld the plate into the door.

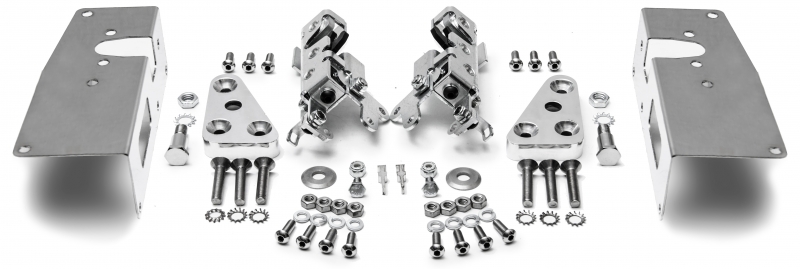
I purchased the Altman Easy Latches the plain finish from Mid-fifty item 1109  ,Or you can get them Polished  Item 1109-PS .

NOT MADE IN CHINA, and they only work on the 53-56 Ford Trucks. On the instructions there is a number you can call for help.

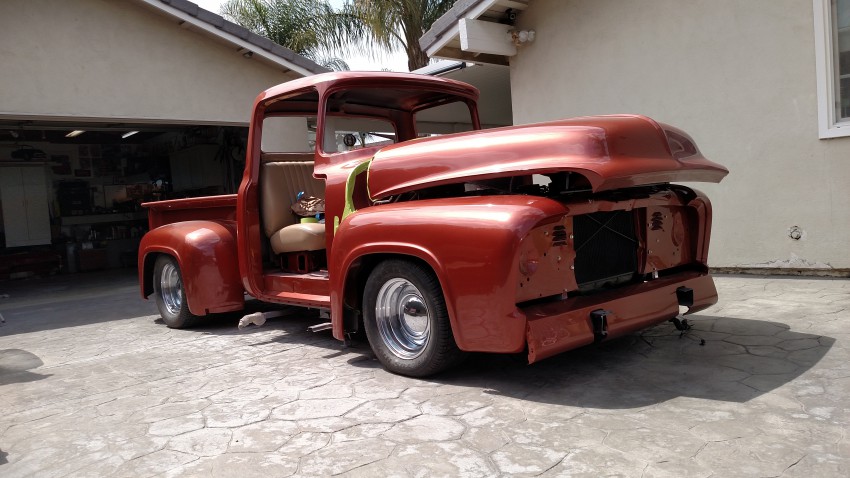
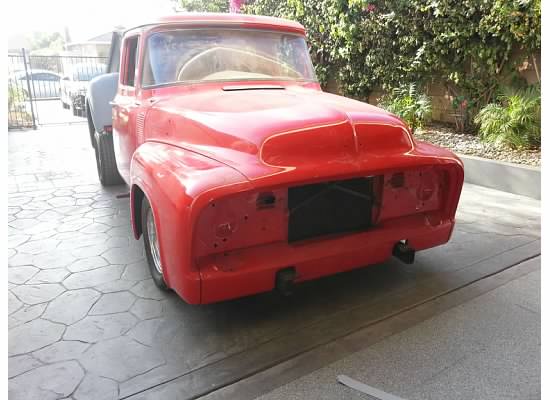
This mod took me about a hour per door. Everything went very smoothly, it was a nice break from sanding and you felt good to see some progress made. I installed the door back on the truck and closed the door for the first time. It closed perfectly! There is a link to my YouTube page of the door being tested at the bottom on this post.

Please post your comments on your install. Or after installing them are they still working well for you?


IMG_20150309_195130380

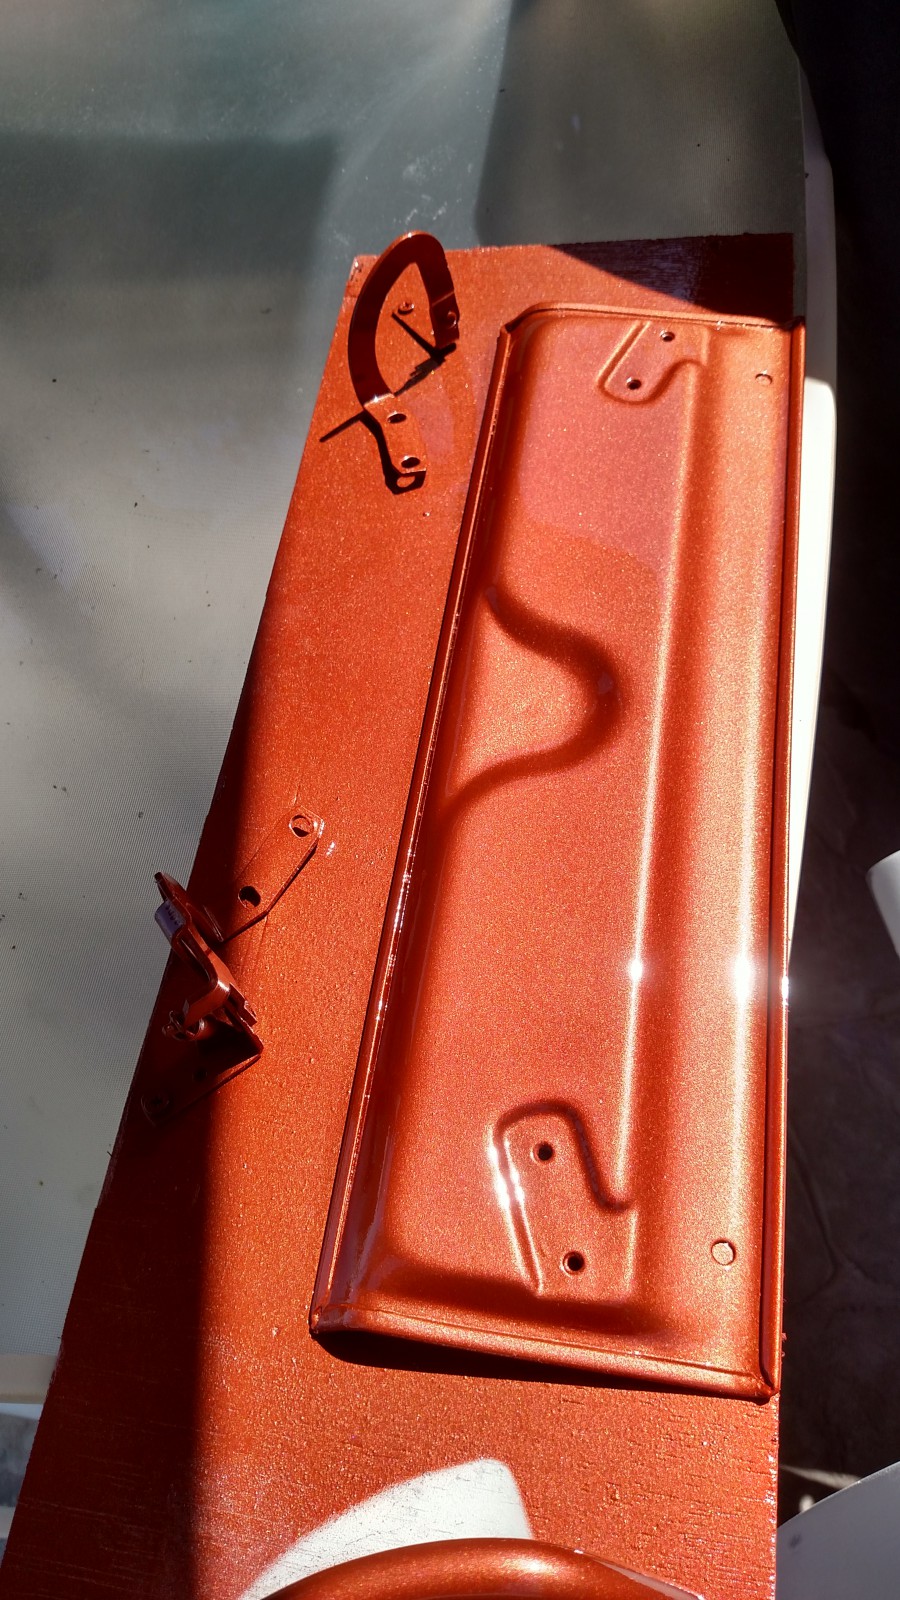
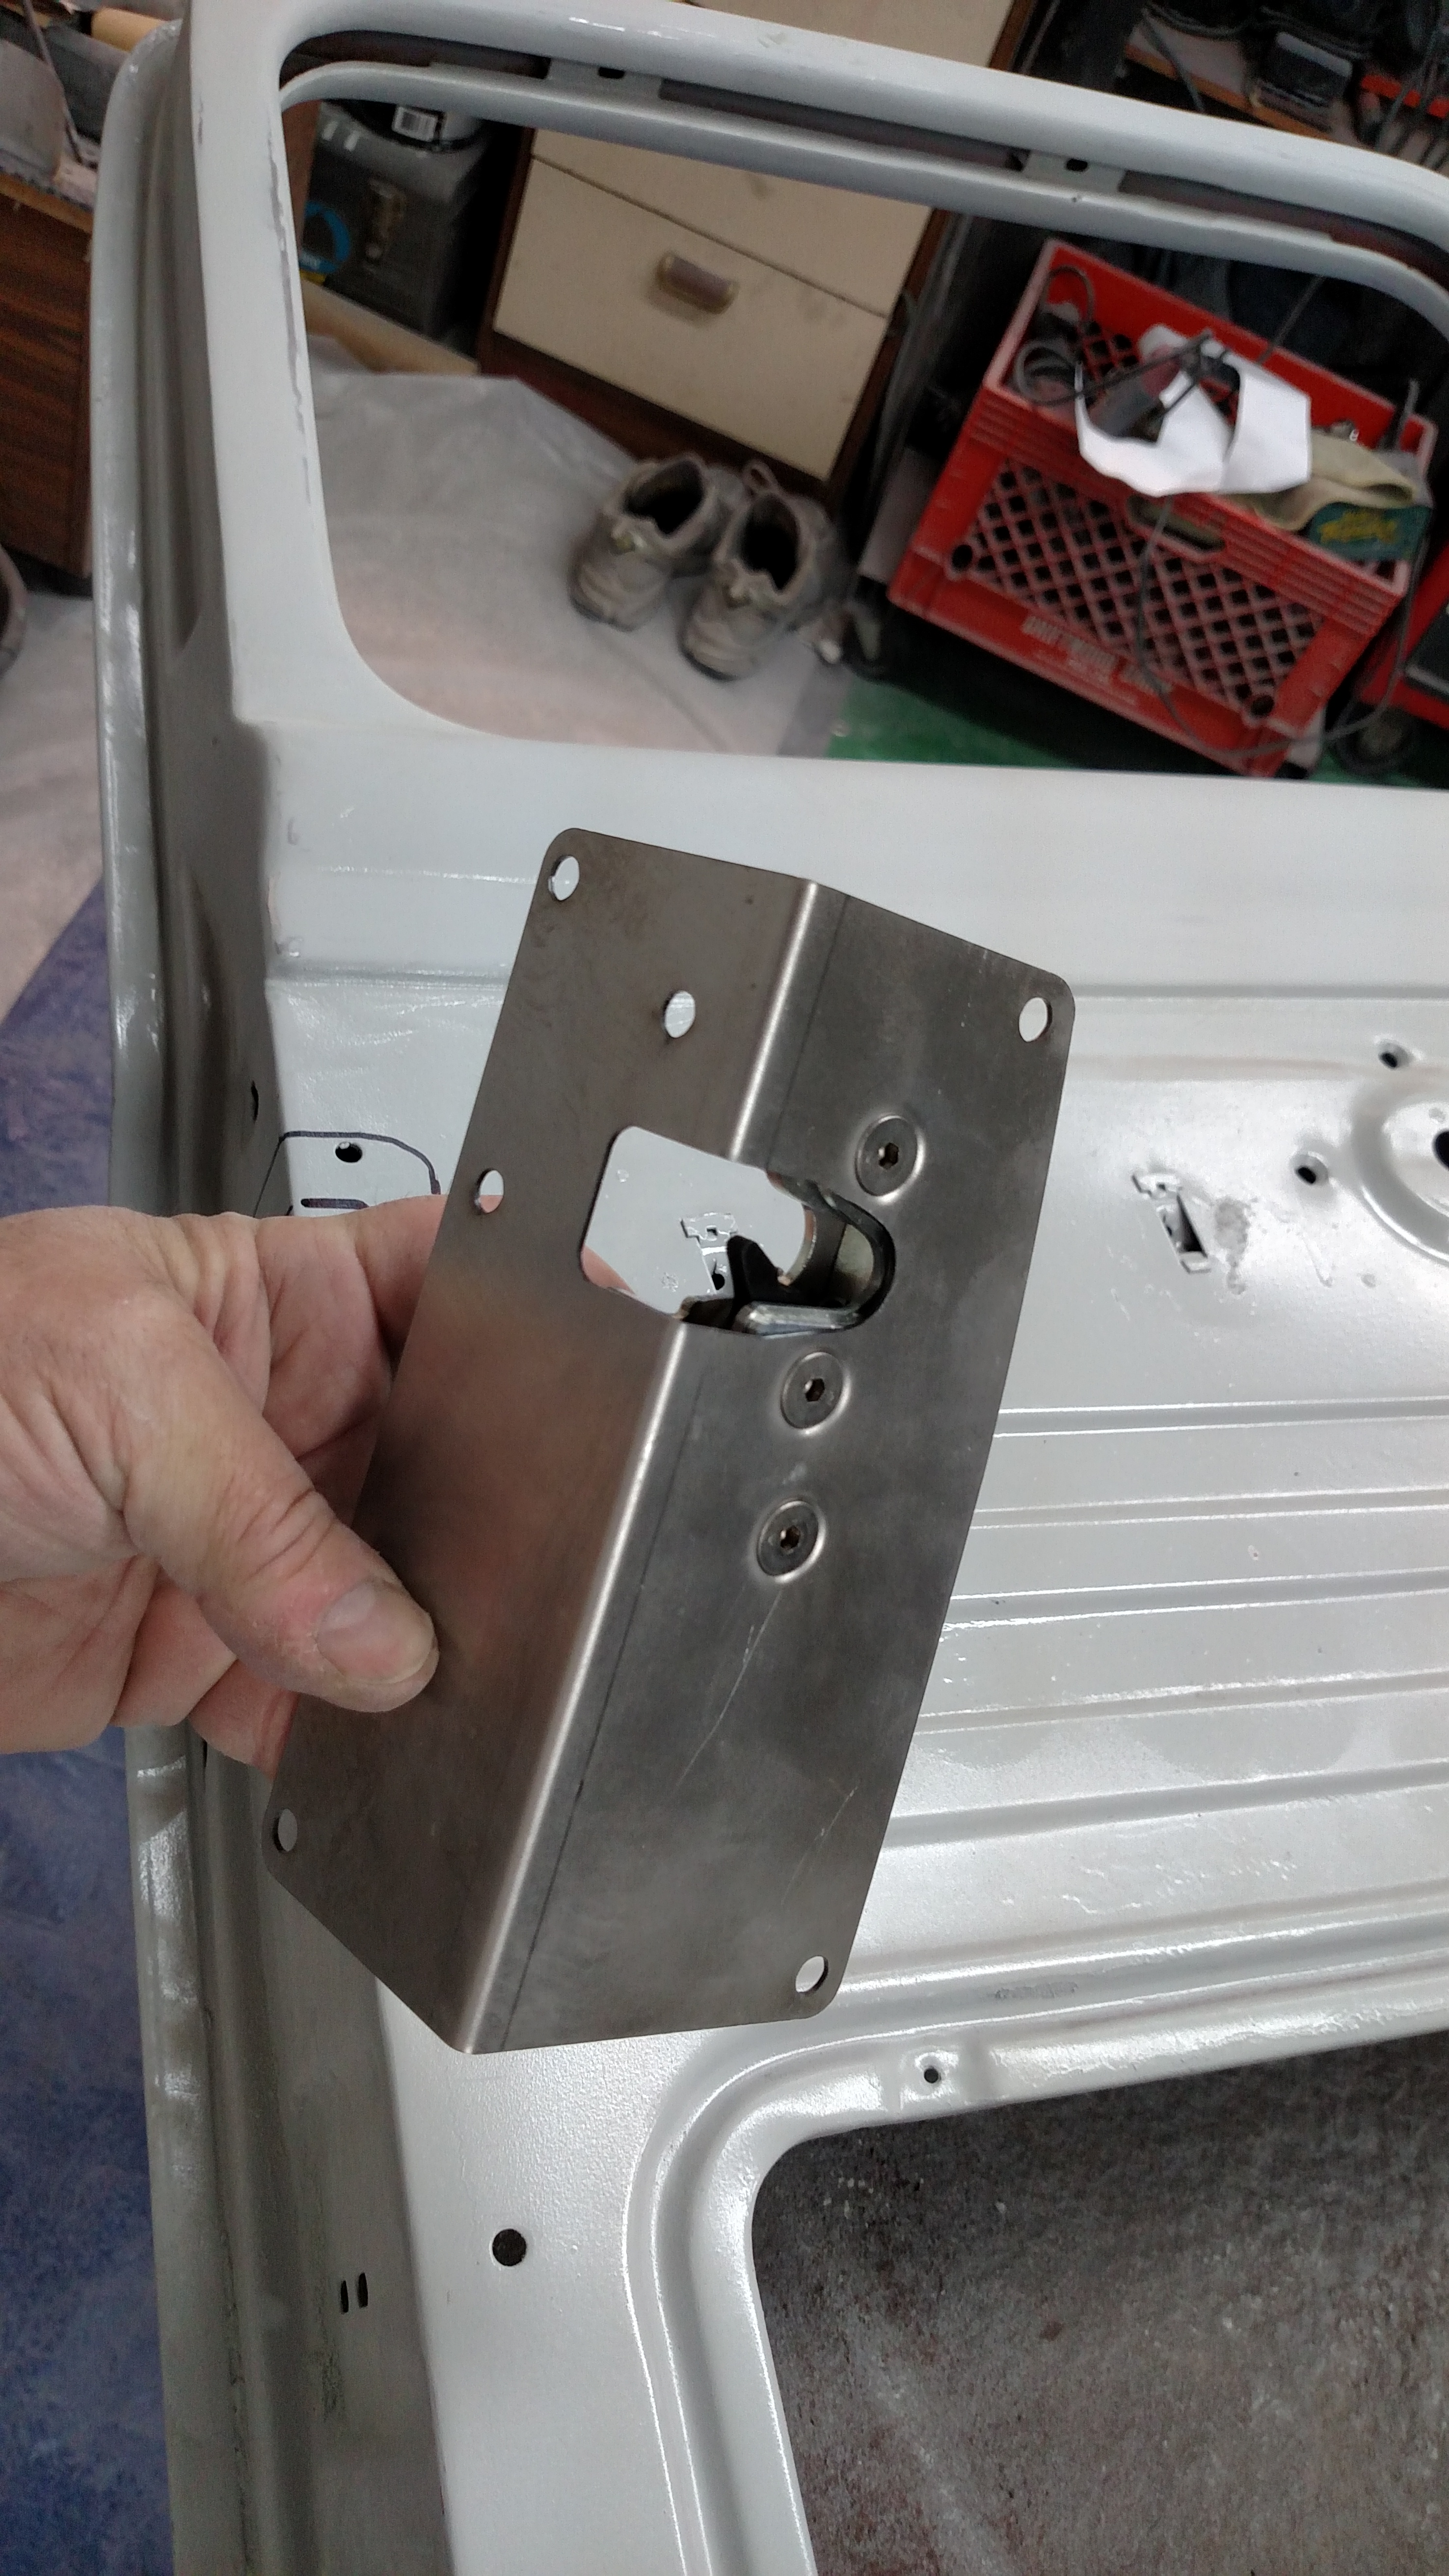
Every thing is right here. Made to overlap existing door skin after you cut out the area for the locking mechanism. It screws into place using one of the existing holes. You drill the others.

IMG_20150309_195305549

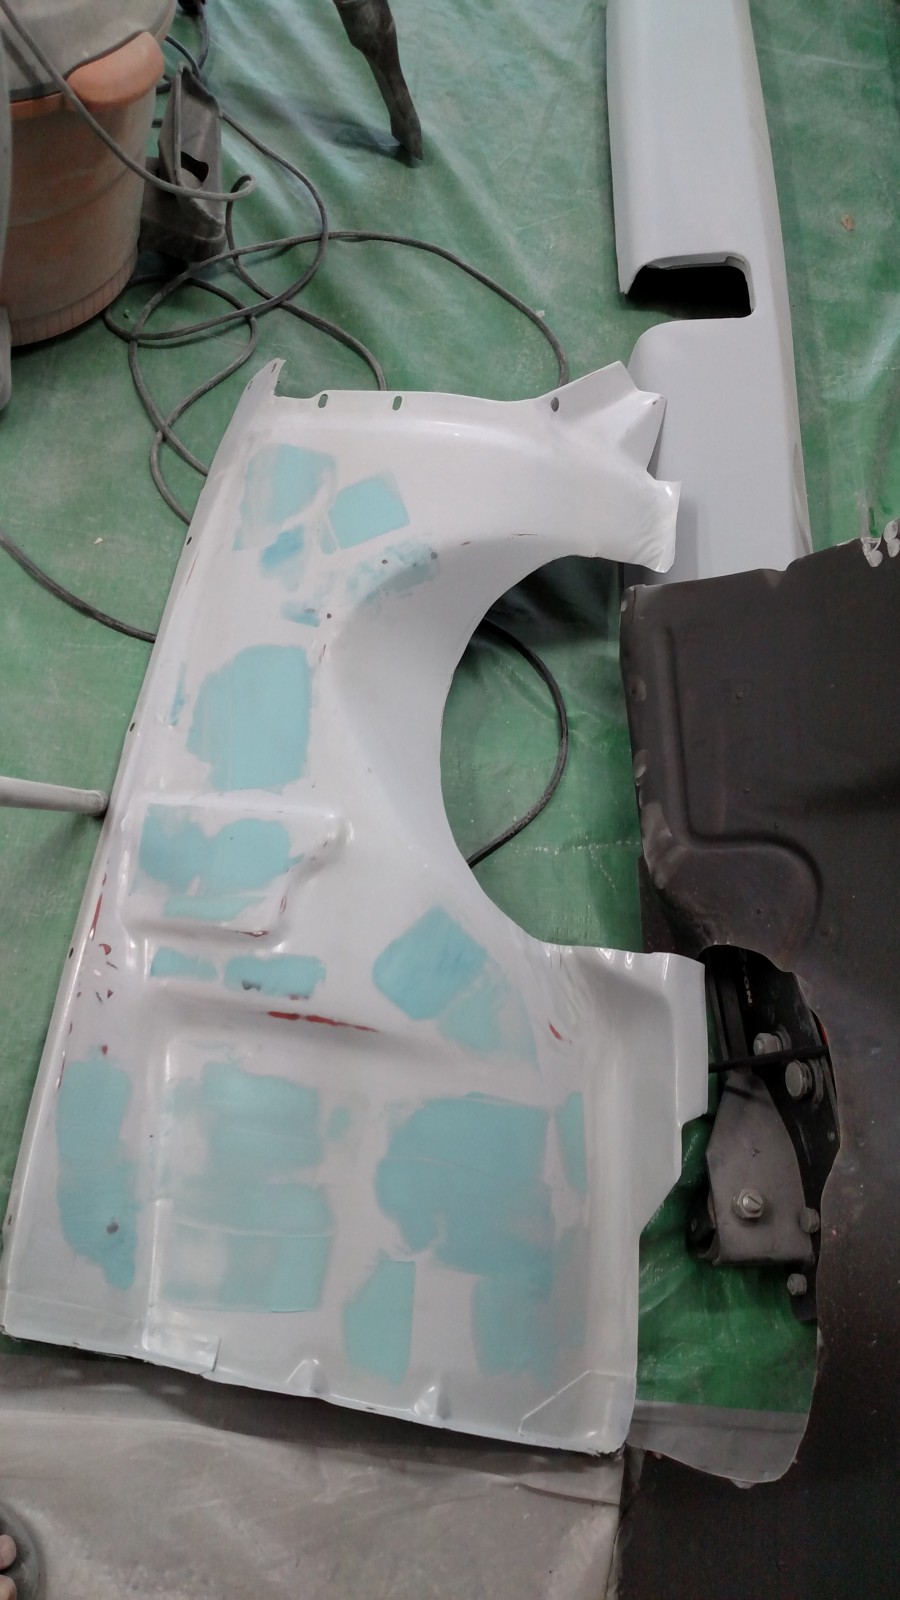
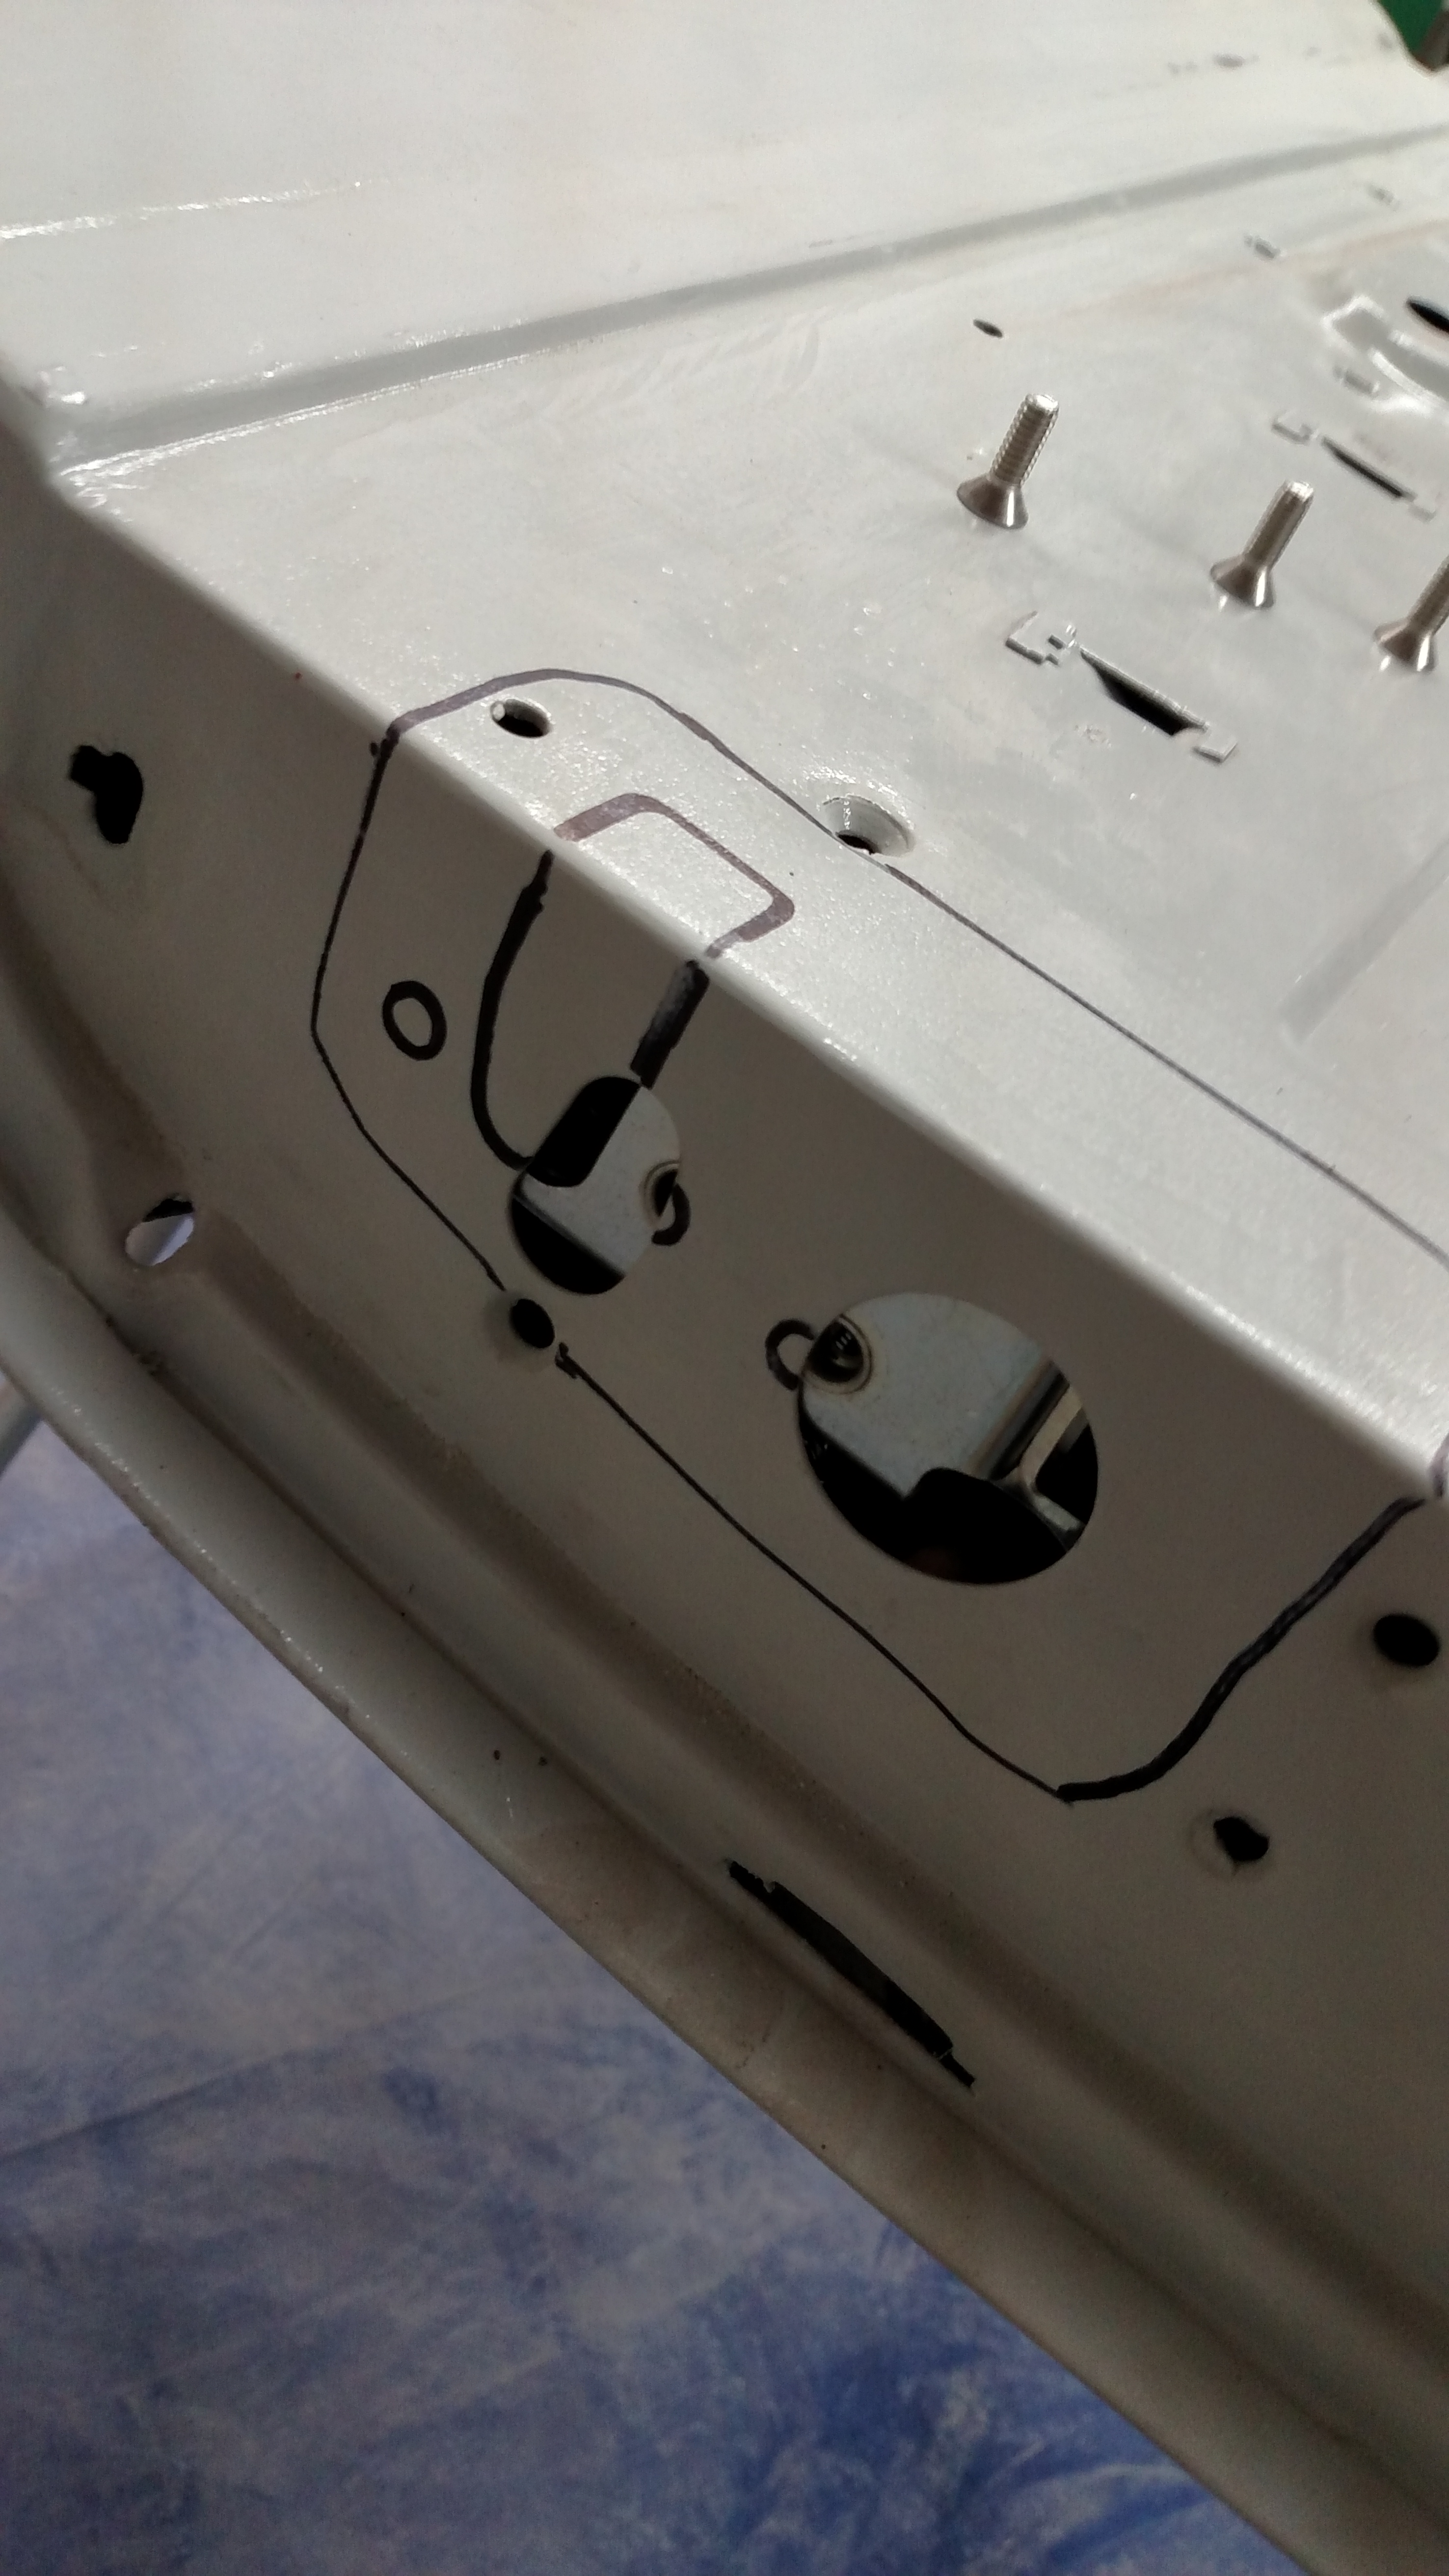
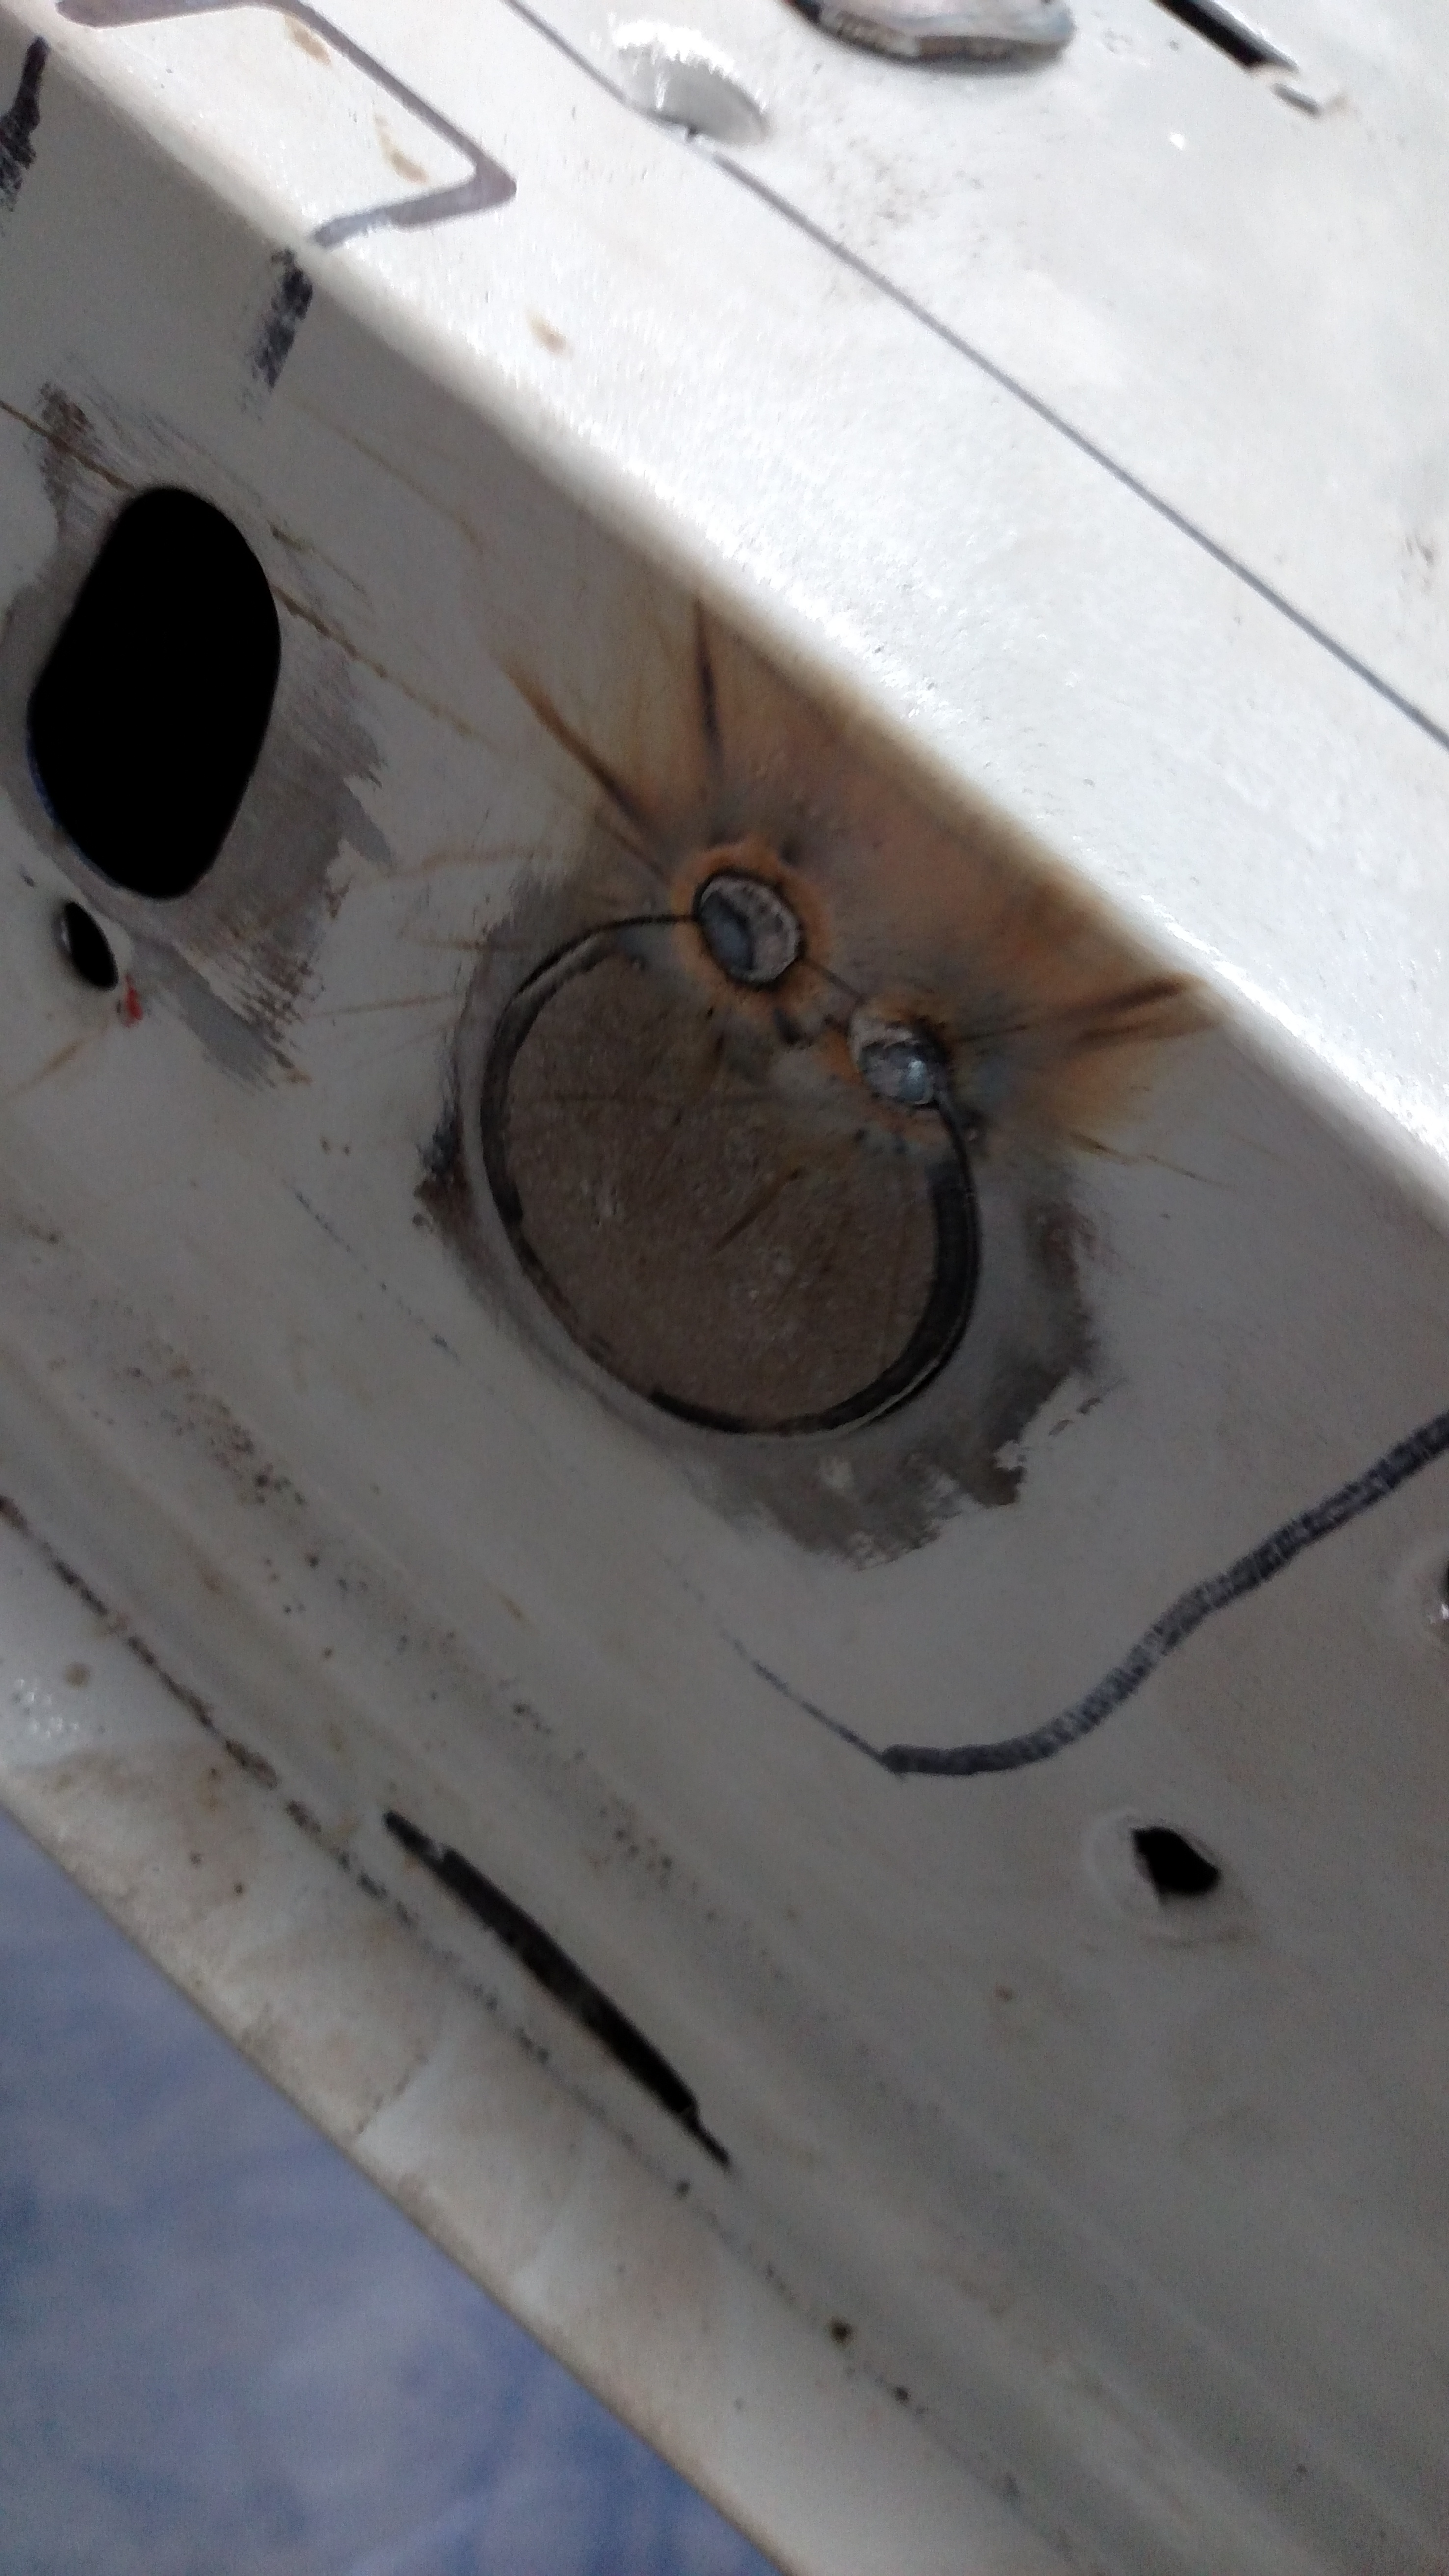
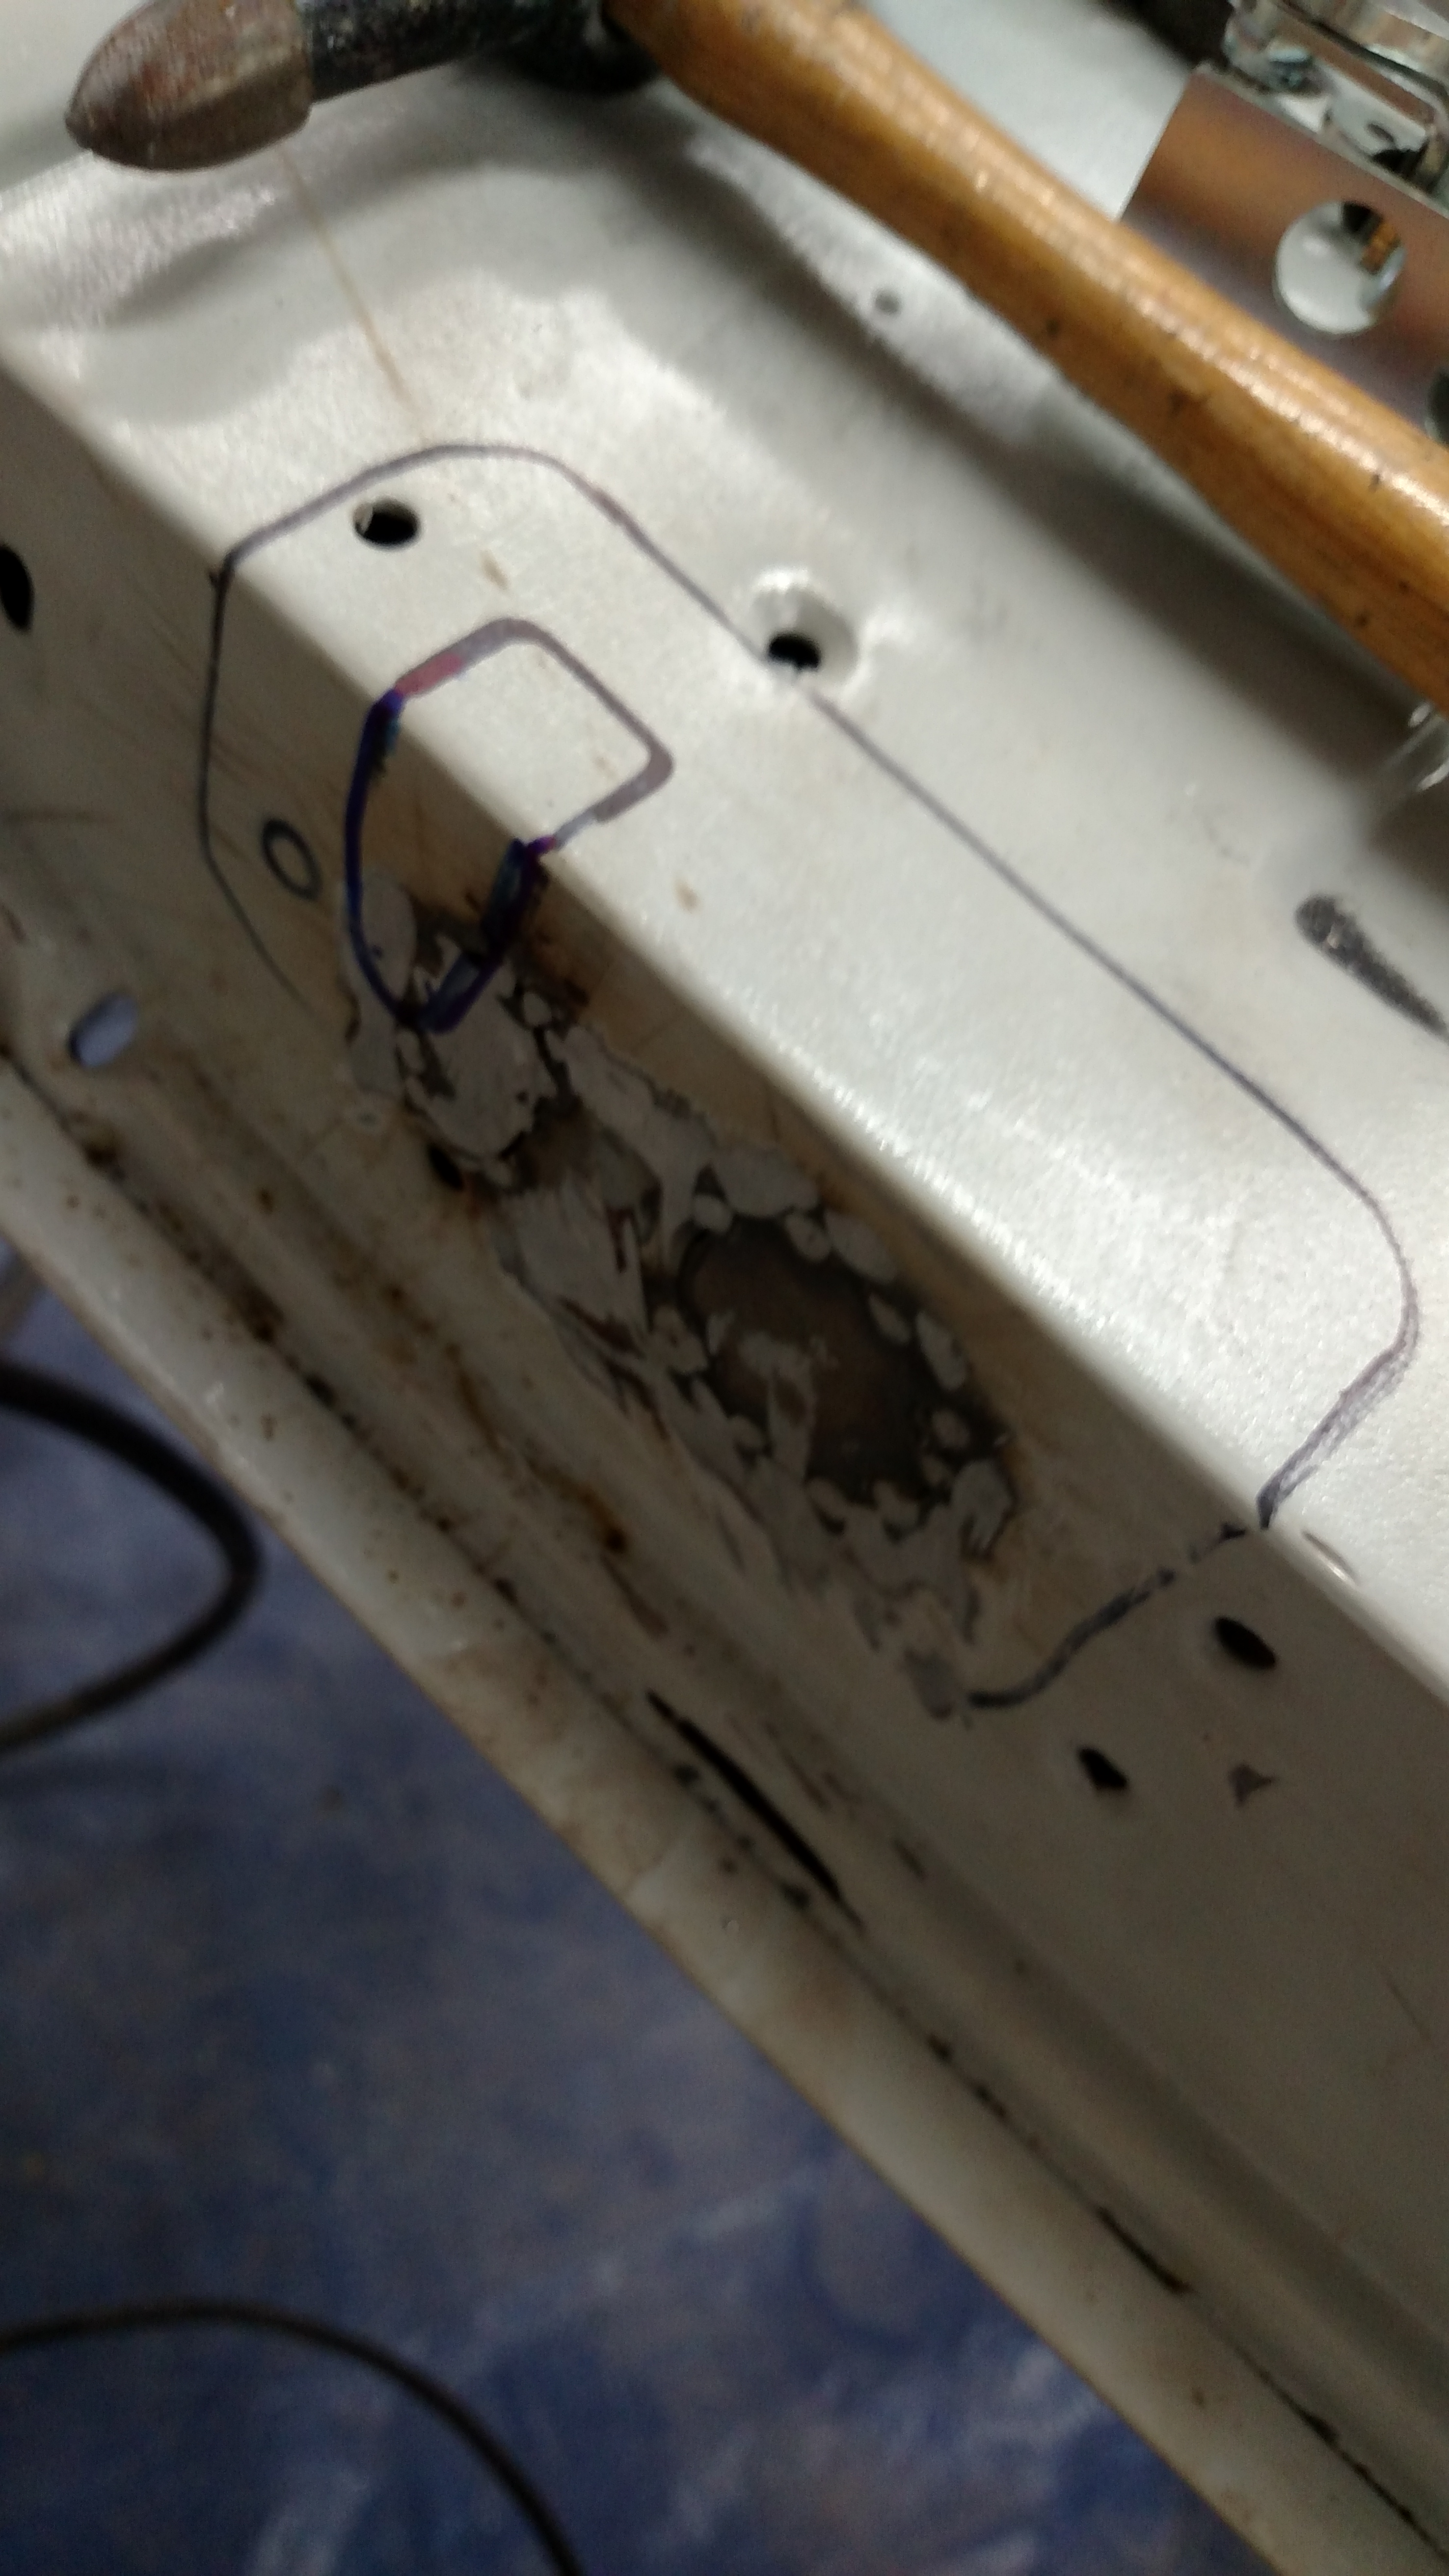
I took apart the lock from the plate and used the plate as template to cut out for the lock post. And marked for the holes to mount the mechanism.

IMG_20150309_203306358

IMG_20150309_204928214

All welded up ready to grind down the welds, cut out the area for the Post to pass using a air saw then I did some bodywork.


image

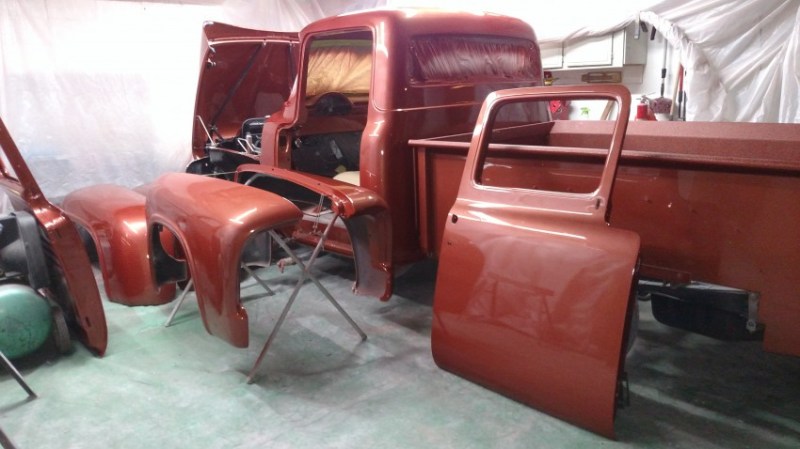
Just need to mount the lock and test the door on the truck.

  If you like these check out the new Hood Latching Kit, Altmans  

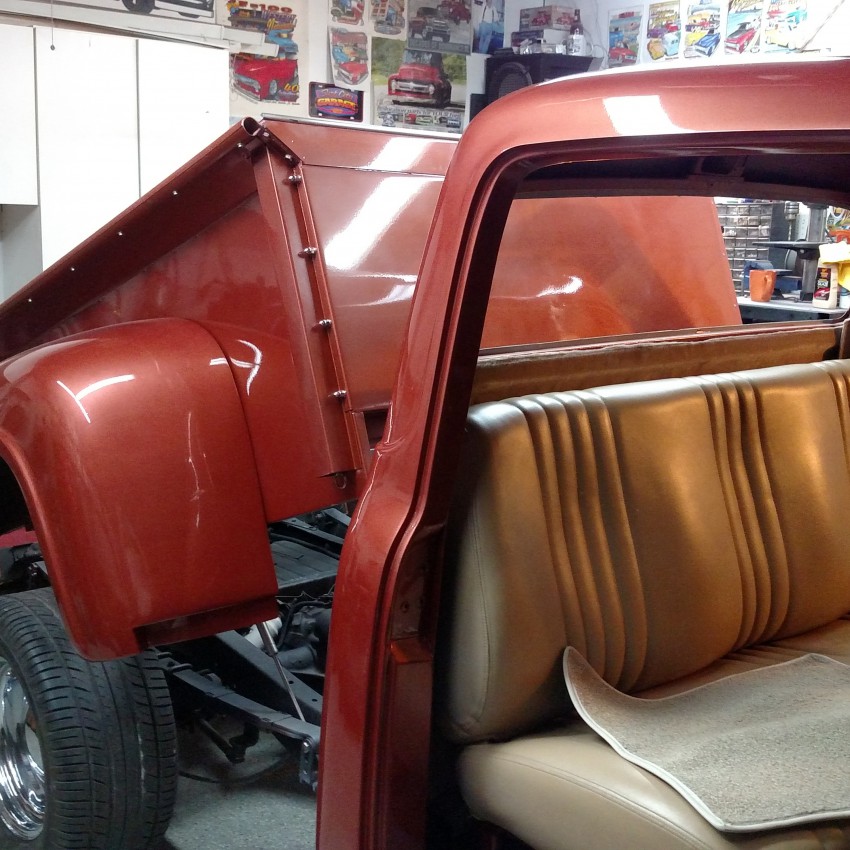
I then mounted the door for a test fit and with little to no adjustment it shut perfectly. Really like these latches highly recommend them.

YouTube testing the latches

Gallery Pics

Standard

Here are some of the pics from the start. Like I said, I started this project with after widening my rear fenders 3 inches. I ran with them painted primer for two years before I figured I’d have the time to finish and paint them. The next things I knew the glass was coming out and the bed was off the truck. And that’s where things got interesting..(Read More)