Busy 3 Day Weekend.

Standard

Things are moving right a long since I  finished with the paint. I started early Saturday morning on finishing some small details on some of the parts and then took down the plastic that was up protecting things from over spray, it was up for about a year. Took everything out of the garage and cleaned things up. That sure felt good.

My goal this weekend was to get the rear fenders on, tail gate and  bed wood done finishing with the  front fenders by Monday night. So during the week I can start on the cab insulation and install the carpet, mount the seat then move onto the doors by next weekend.


IMG_20150523_234434307IMG_20150523_234726IMG_20150524_120732805IMG_20150524_163856079IMG_20150524_212253805IMG_20150525_143527630IMG_20150525_143543490

Finished the day with the alignment of the hood and fenders.


Weekend work 2

Standard

Spent some good time this weekend on my project and got the bed painted. Doing things in a garage has its limitations and it creates extra work moving things around but the project is moving along and its getting done, its nice to see some paint get on these parts I worked on for a year.

I wet sanding up to 600 grit then applying a sealer coat, before applying two wet coats of paint, before shooting clear.

Other pieces I shot today was the inside of the glove box, and gauge cluster. Next will be to wet sand the rear fenders and tail gate during the week and spray next weekend.

IMG_20150412_144629685

IMG_20150412_144552080IMG_20150412_144248532_HDRIMG_20150412_144257346_HDR


3″ Wide Rear Fenders

Standard

These just looks cool. I first seen this done in the 70s and just love the fat fender look from behind.  A club member in the San Gabriel chapter of Pickups Limited did the widening for me, and  I got to do the bodywork. He cut the flange and added 3″  of steel them stitch welded them together. I had the underside sprayed with TuffSkin bed liner (also under my running boards). Now this isn’t for the person in a hurry. It takes time to get it right. Especially on a curved fender. I will keep adding to this post since  not finished yet.

image

image

You can see the end flange and about 3″ in the welding process.


image

See the indent for the running boards.


image

Got them blocked just need to add some High build primer then sand to 600 before paint

IMG_20150315_171011033

Applied shop line JP355 primer


IMG_20150315_171003934

Now, I will look for any issues, use Evercoat glaze putty, sand and prime those areas, sand with 600 and they will be ready for paint.


image

I used the truck for about 2 years before I started the project. This is how it looked before I took them off and started to block them out.


Making Extended Bed Post

Standard

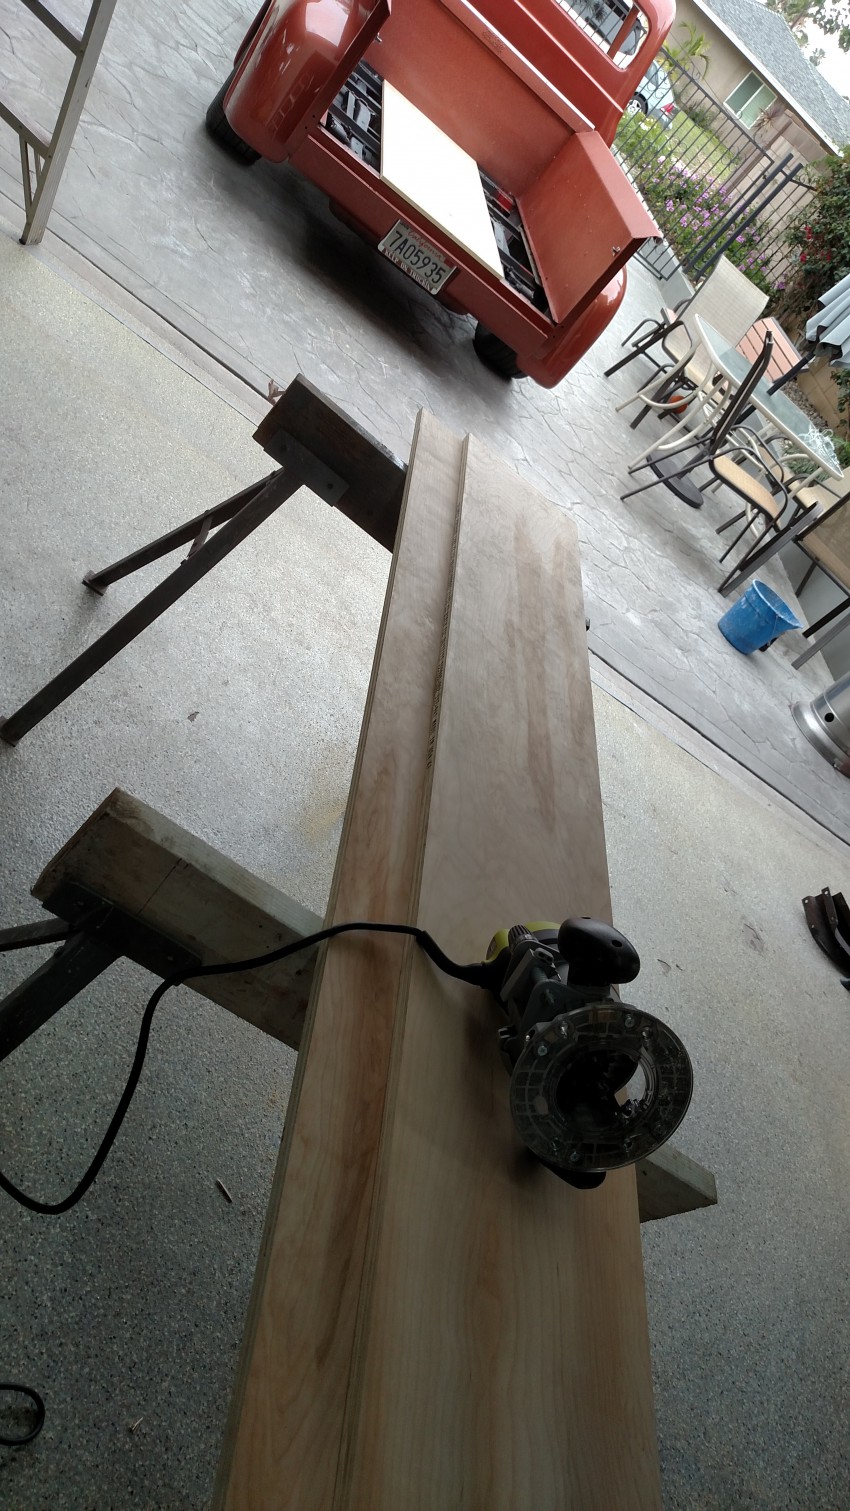
To stay with the curve and lines in the rear. I decided to add curved ends to my rear bed posts. These are available to purchase but I thought I’d give it a try and make my own.   Mid Fifty’s  has been my source for my parts and they have these.

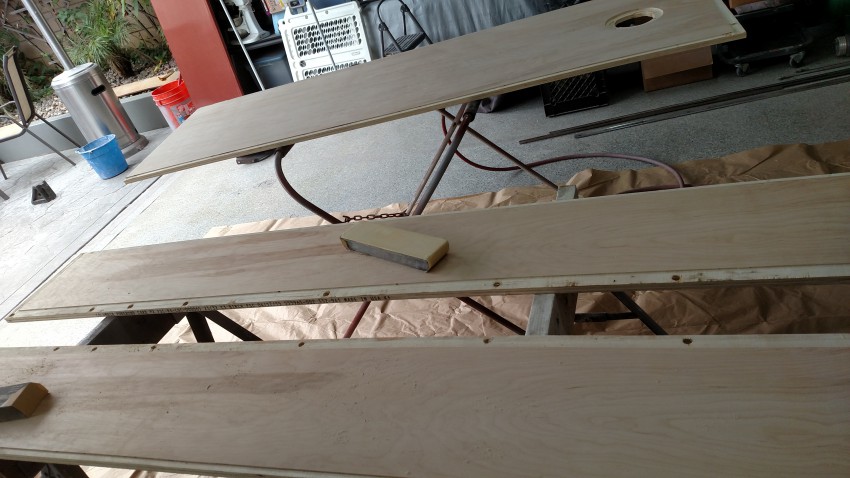
I grabbed some cardboard to make a template and used 16 gauge steel started cutting. I had one done in about 30 minutes and the second one even took shorter. But for the record I’d say in about a hour I were done making them.

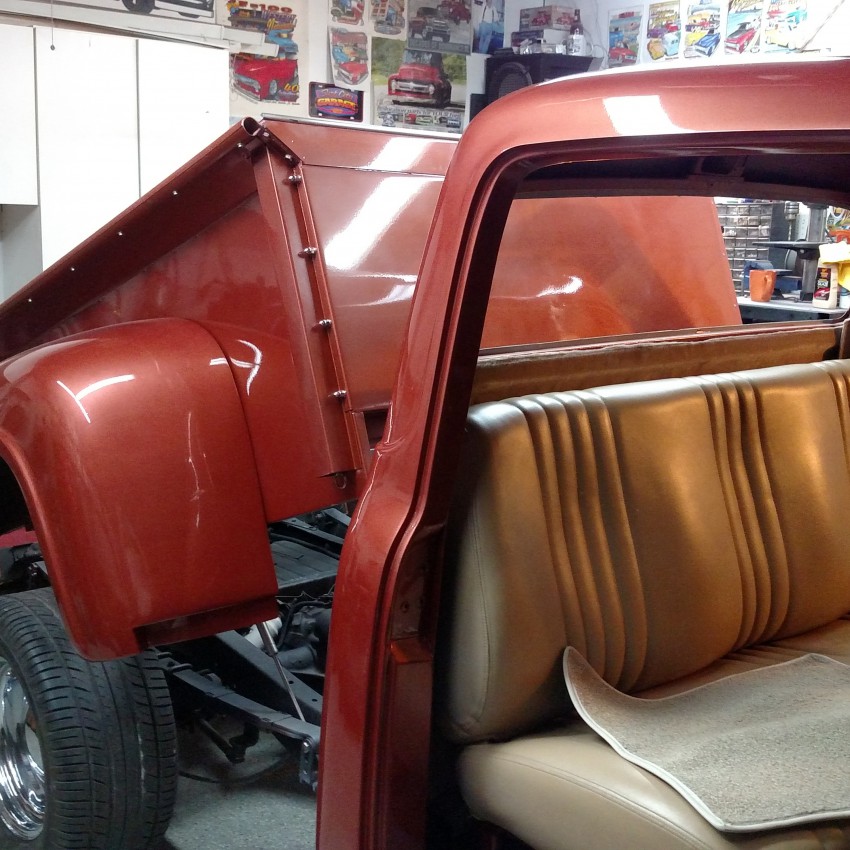
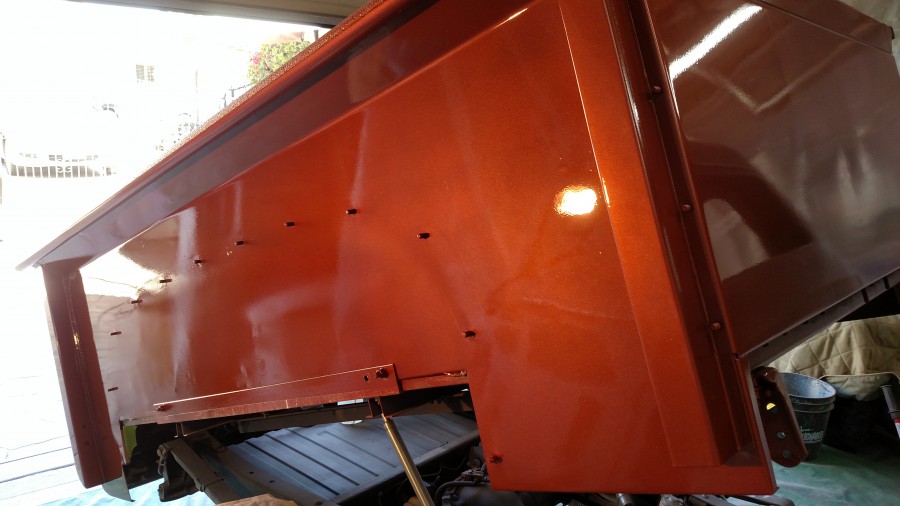
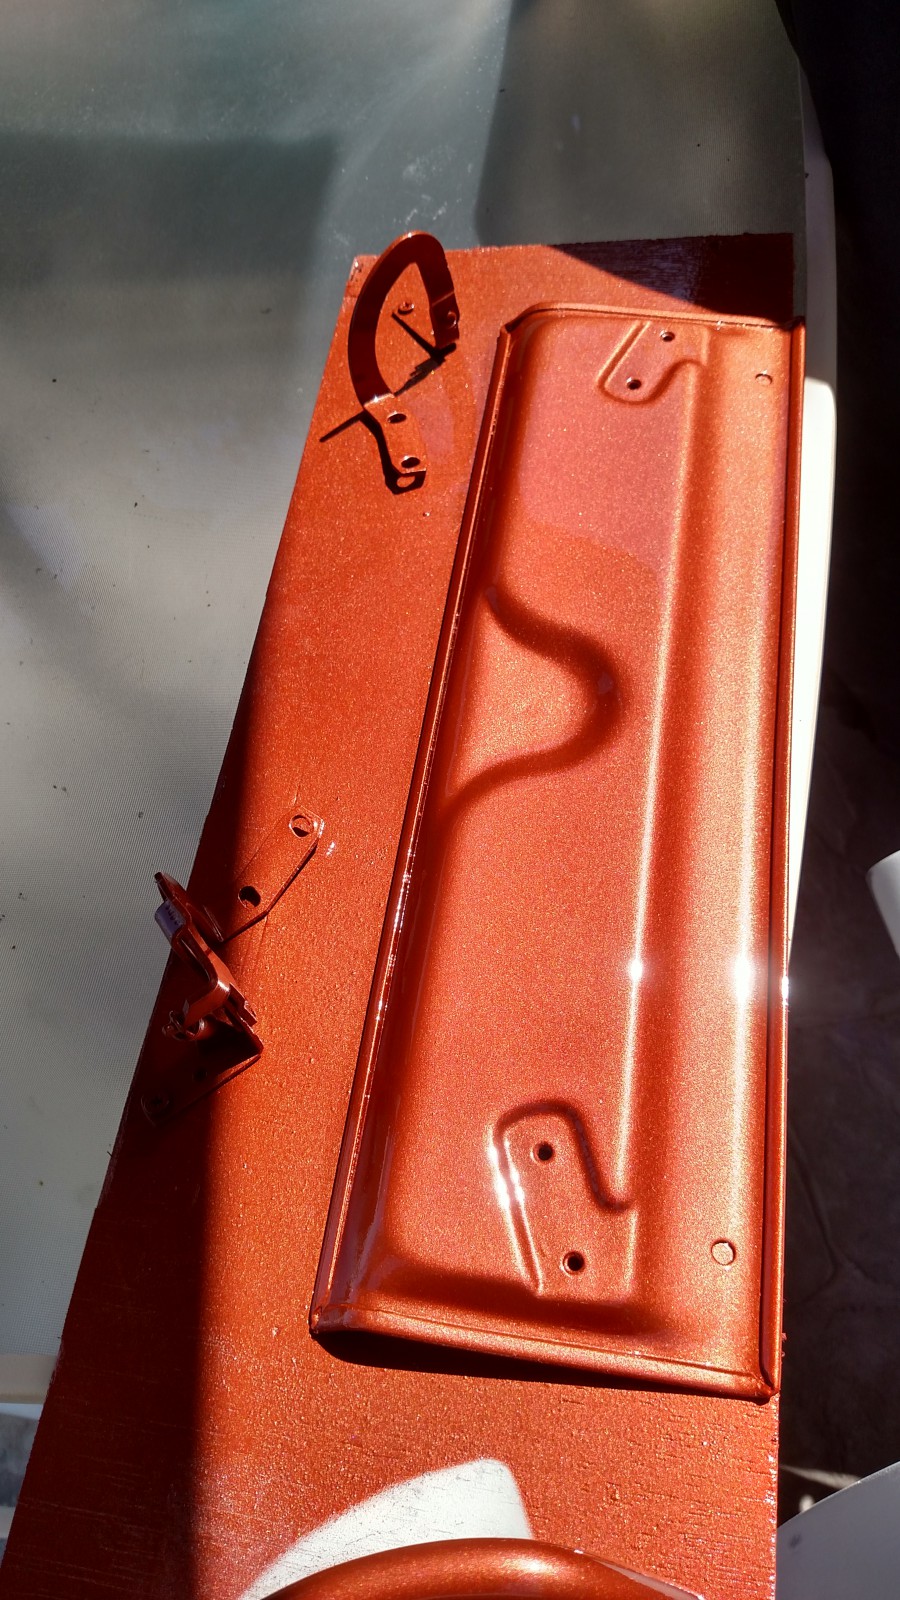
I tack welded from the inside and as I moved a long the curve I would tack weld. I butt welded to the bed post once I got those to bare metal. Added some fiberglass filler and worked the areas until I had them nice and smooth . I applied some 2k epoxy primer,  next step block/sand then shoot Hi-Build primer sand with 600 wet before paint.

IMG_20150101_203131048[1]

Used 16 gauge steel. Use some thin cardboard and made a template so each sides would be the same on the curve. The template matched the curve on the roll pan since there are going to match that.

IMG_20150101_203148960[1]

Tack from the inside and pushed down tacking along the way.

IMG_20150101_202934921[1]

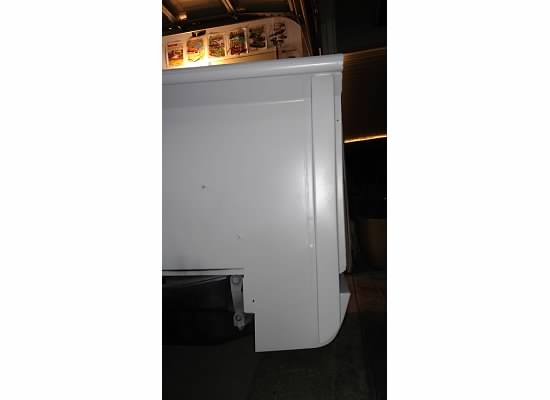
Checked the fit butt against the bed post. Need to take those down to metal before butt welding to post.

wpid-wp-1423032605500.jpeg

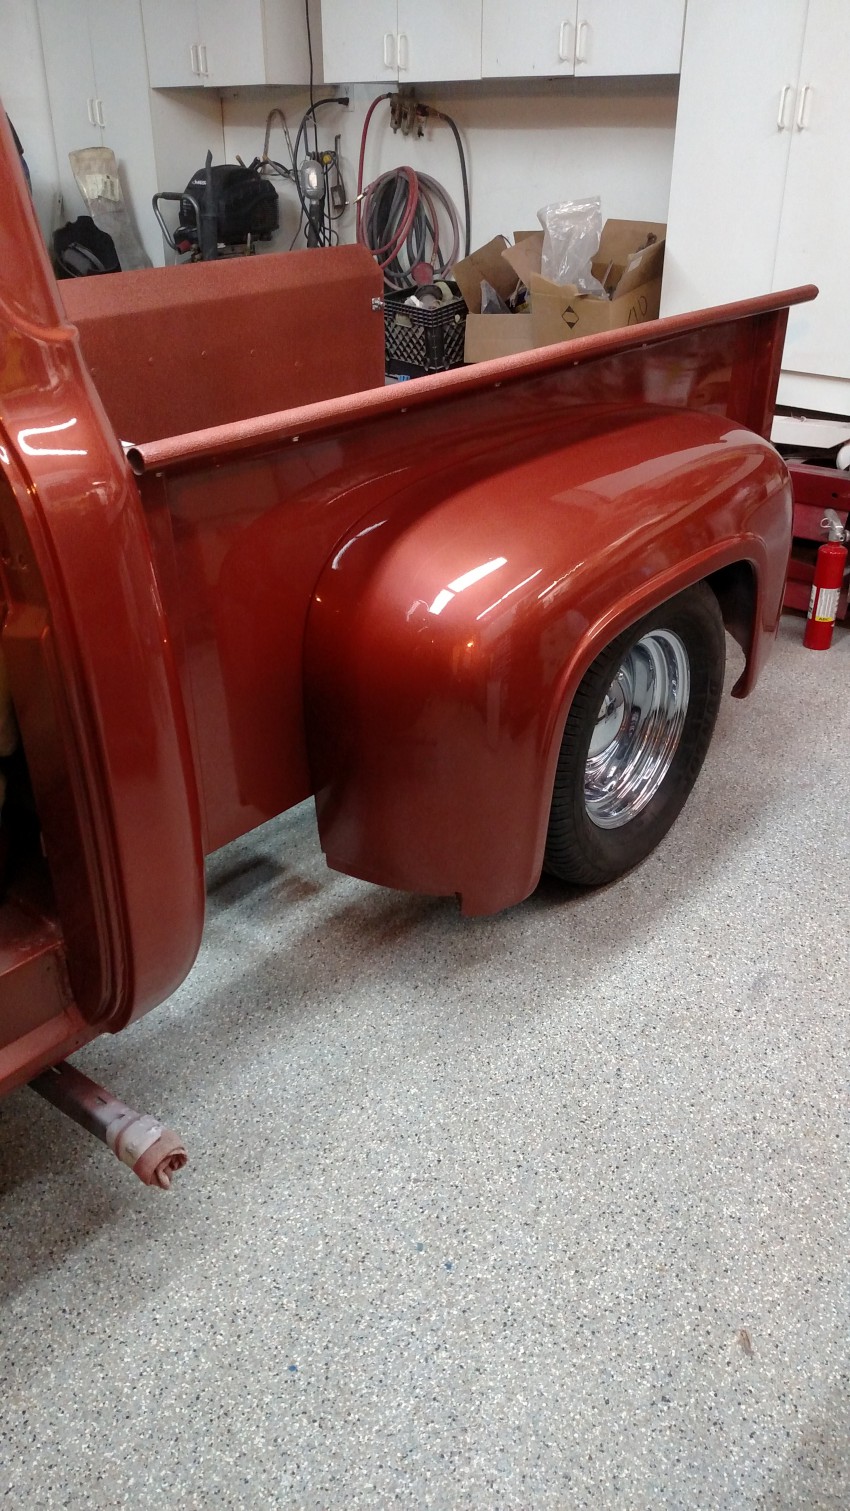
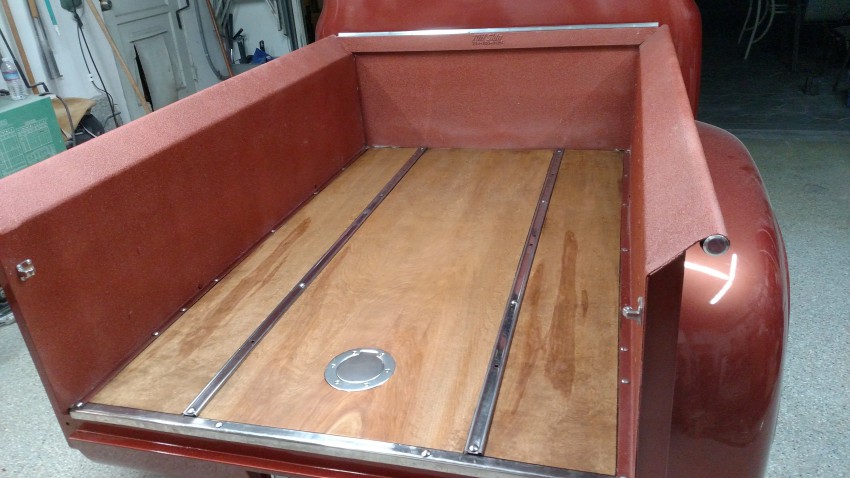
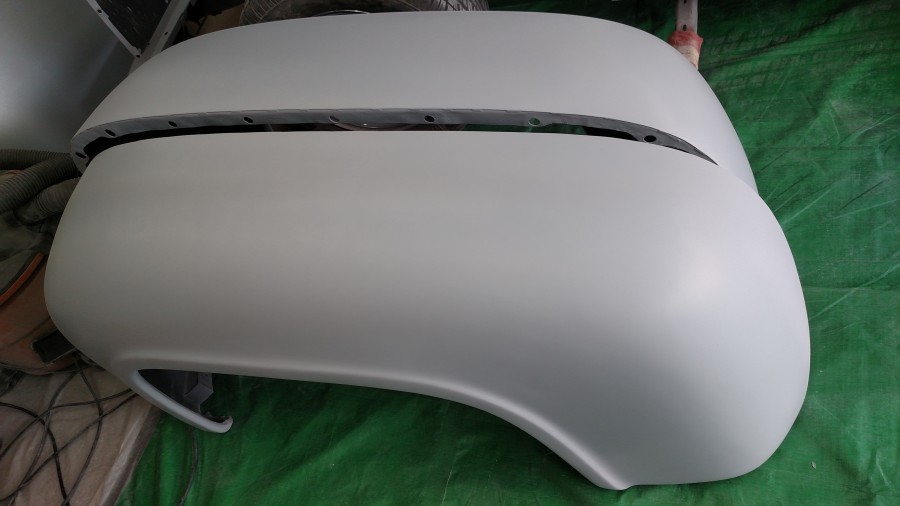
A look after the welding and some bodywork. Also took out the bed seams.


wpid-wp-1423032549728.jpeg

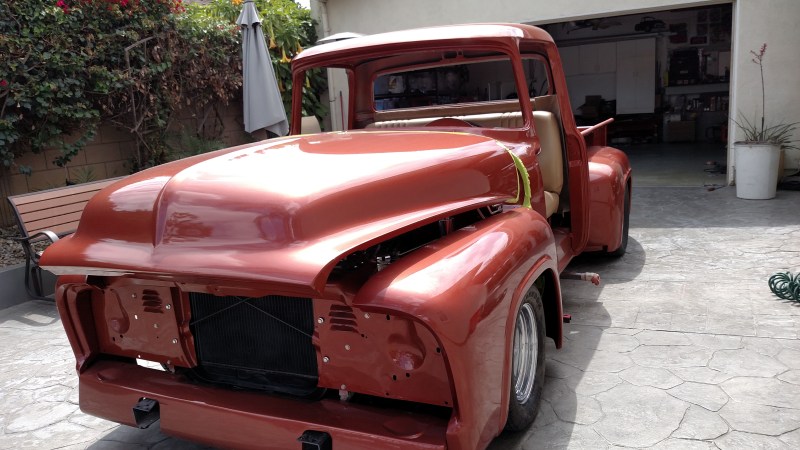
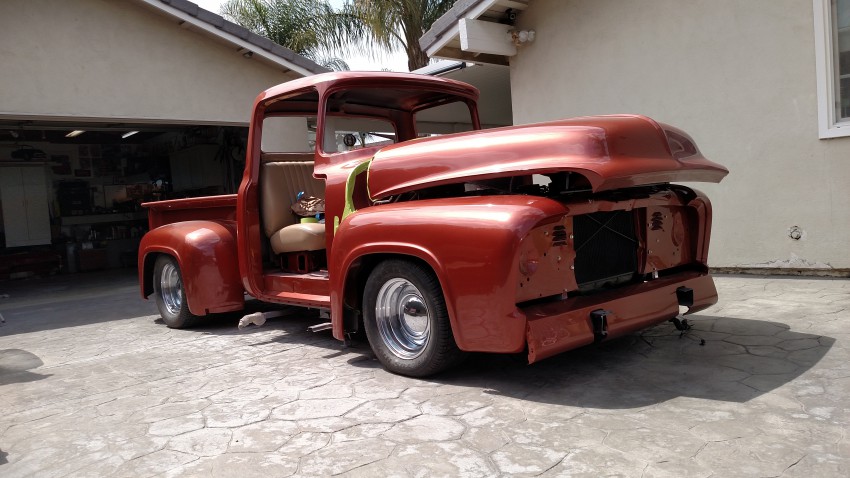
Side shot after some 2k applied. Its what makes our trucks all diffferent.

wpid-wp-1423032465649.jpeg

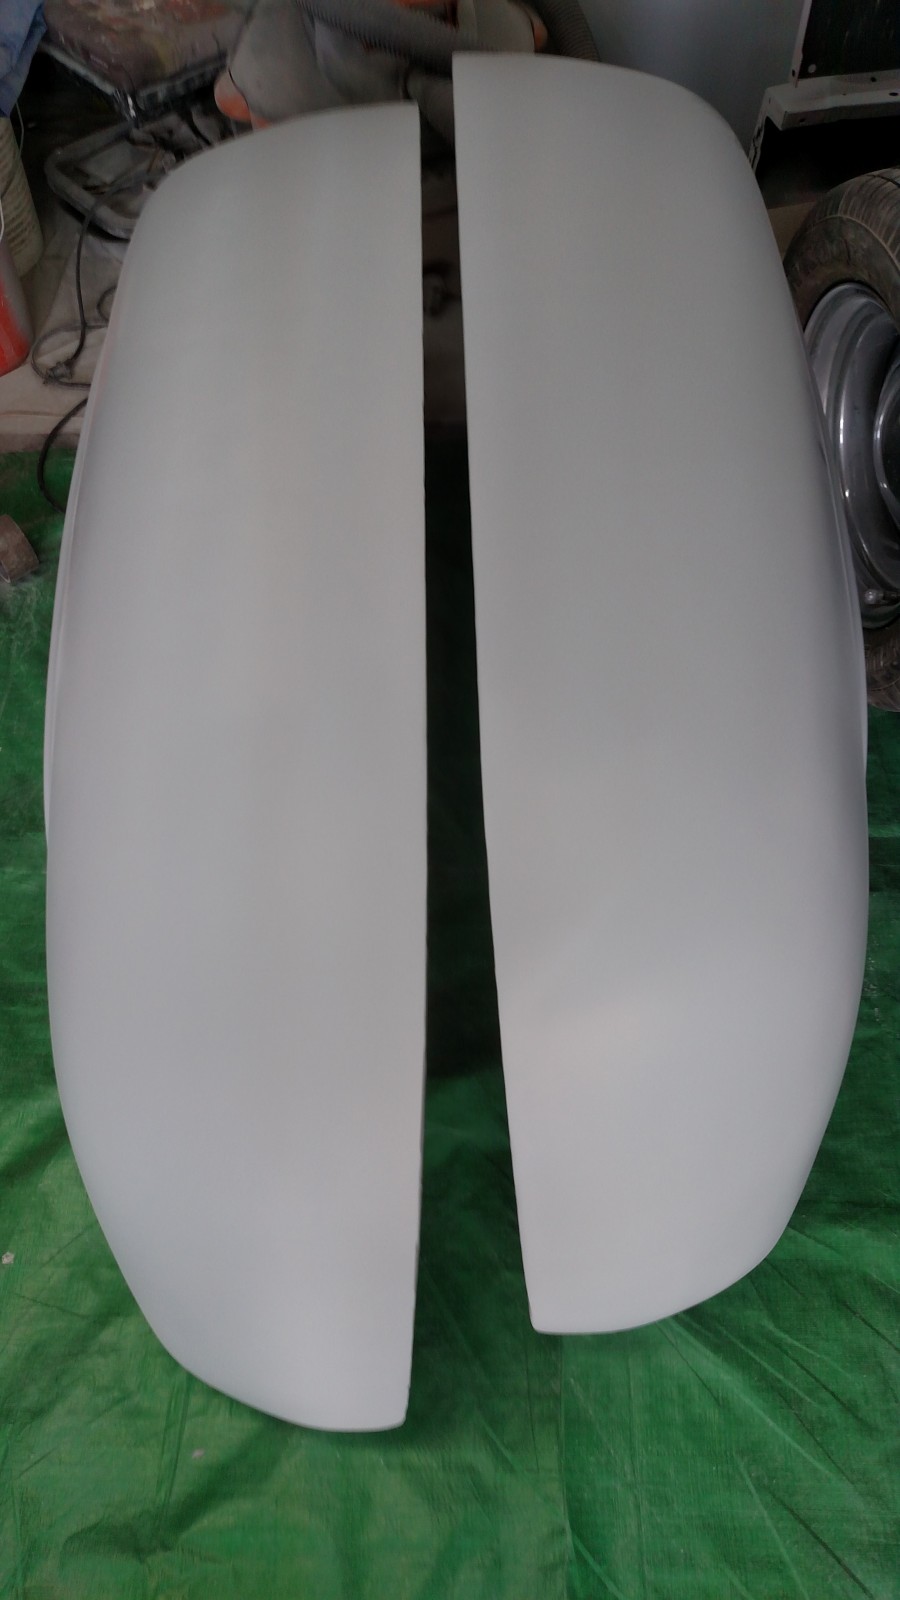
Nice and they match!