3″ Wide Rear Fenders

Standard

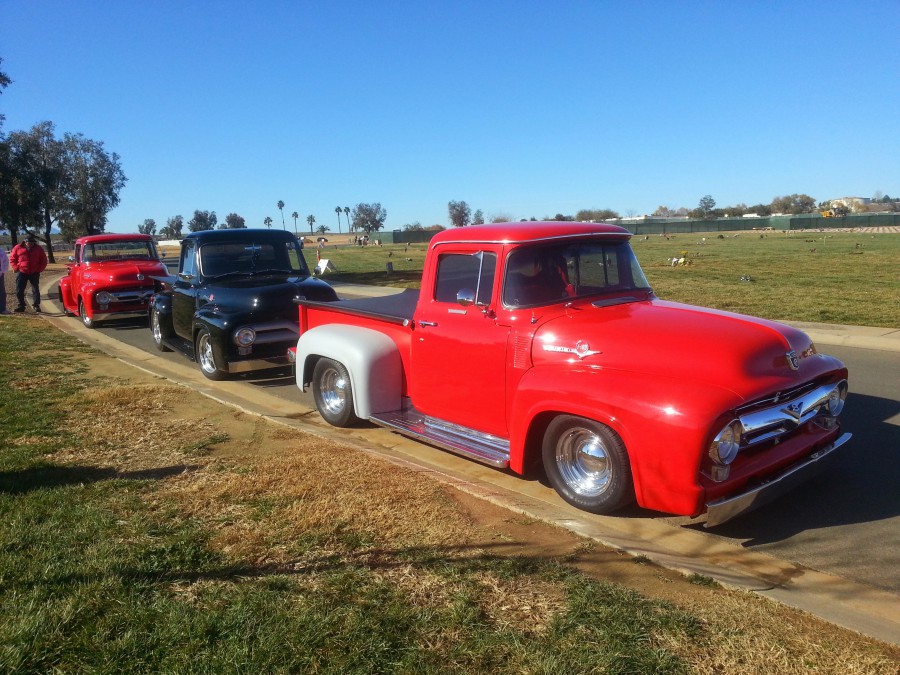
These just looks cool. I first seen this done in the 70s and just love the fat fender look from behind.  A club member in the San Gabriel chapter of Pickups Limited did the widening for me, and  I got to do the bodywork. He cut the flange and added 3″  of steel them stitch welded them together. I had the underside sprayed with TuffSkin bed liner (also under my running boards). Now this isn’t for the person in a hurry. It takes time to get it right. Especially on a curved fender. I will keep adding to this post since  not finished yet.

image

image

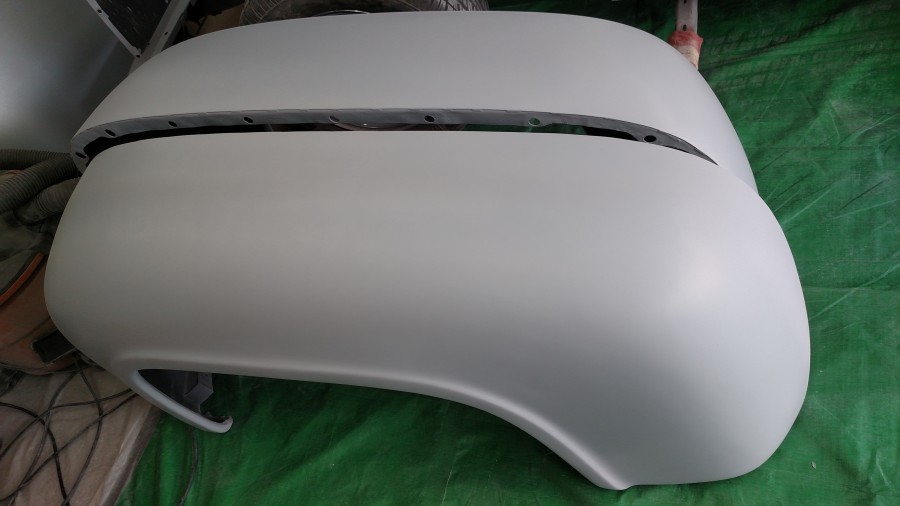
You can see the end flange and about 3″ in the welding process.


image

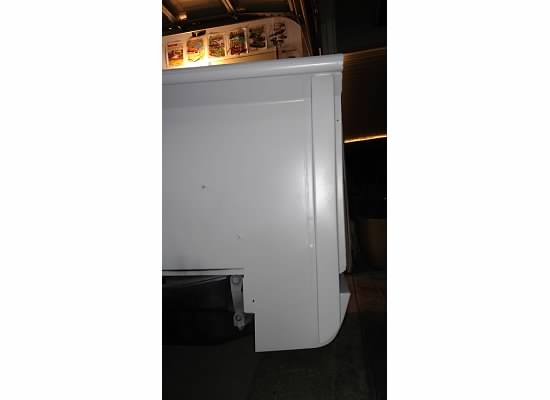
See the indent for the running boards.


image

Got them blocked just need to add some High build primer then sand to 600 before paint

IMG_20150315_171011033

Applied shop line JP355 primer


IMG_20150315_171003934

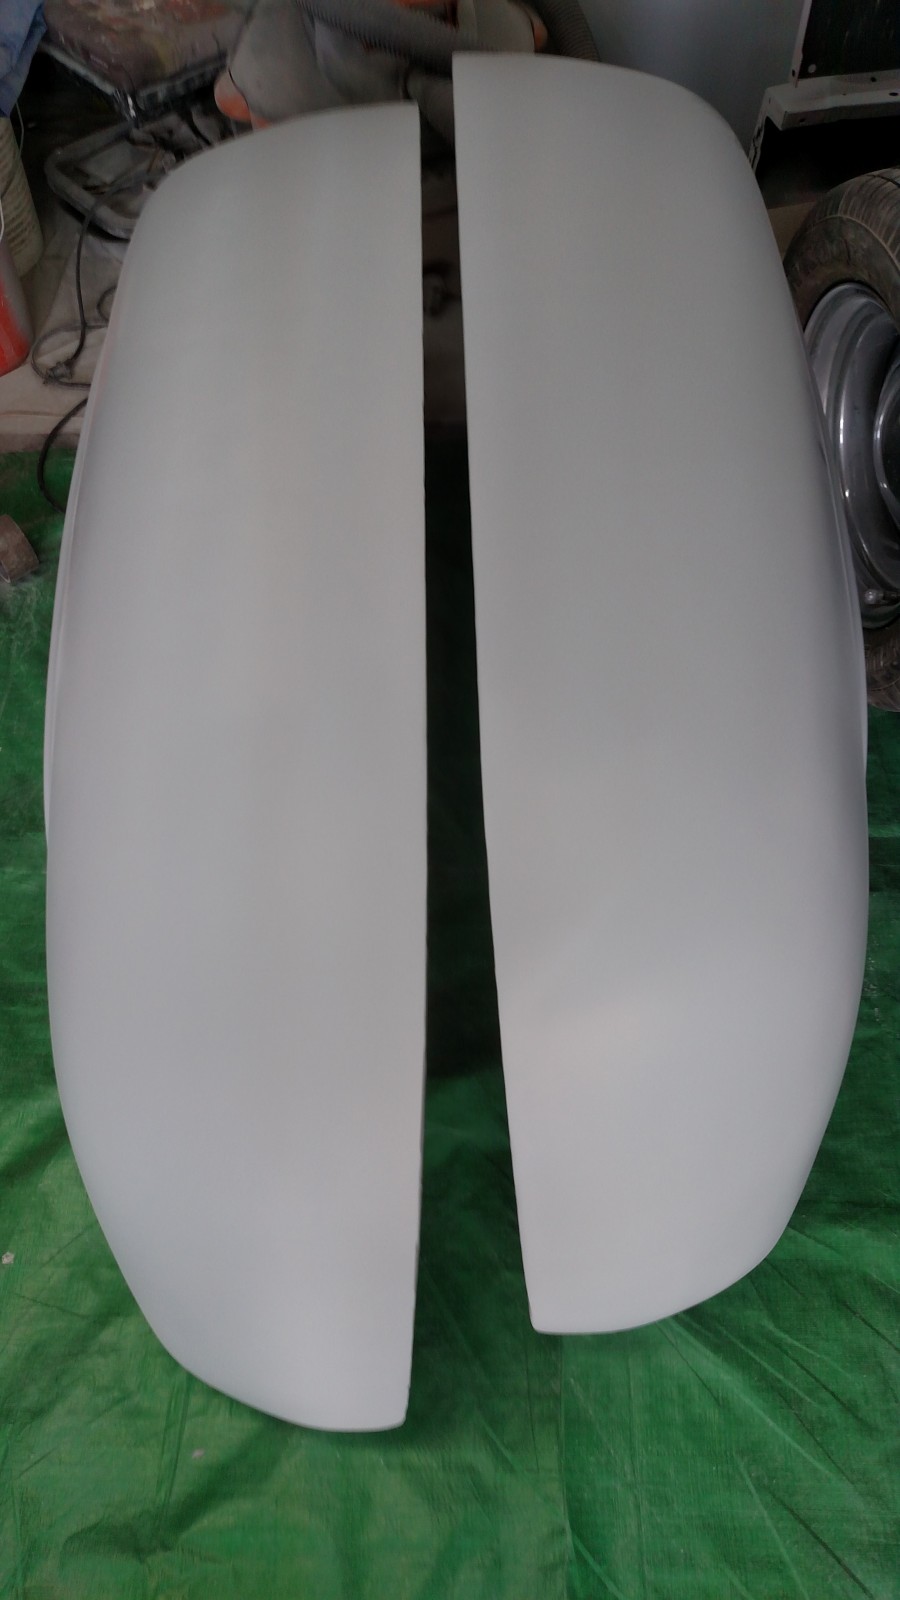
Now, I will look for any issues, use Evercoat glaze putty, sand and prime those areas, sand with 600 and they will be ready for paint.


image

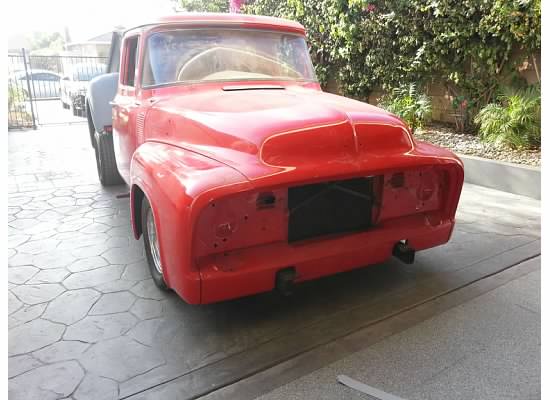
I used the truck for about 2 years before I started the project. This is how it looked before I took them off and started to block them out.


Making Extended Bed Post

Standard

To stay with the curve and lines in the rear. I decided to add curved ends to my rear bed posts. These are available to purchase but I thought I’d give it a try and make my own.   Mid Fifty’s  has been my source for my parts and they have these.

I grabbed some cardboard to make a template and used 16 gauge steel started cutting. I had one done in about 30 minutes and the second one even took shorter. But for the record I’d say in about a hour I were done making them.

I tack welded from the inside and as I moved a long the curve I would tack weld. I butt welded to the bed post once I got those to bare metal. Added some fiberglass filler and worked the areas until I had them nice and smooth . I applied some 2k epoxy primer,  next step block/sand then shoot Hi-Build primer sand with 600 wet before paint.

IMG_20150101_203131048[1]

Used 16 gauge steel. Use some thin cardboard and made a template so each sides would be the same on the curve. The template matched the curve on the roll pan since there are going to match that.

IMG_20150101_203148960[1]

Tack from the inside and pushed down tacking along the way.

IMG_20150101_202934921[1]

Checked the fit butt against the bed post. Need to take those down to metal before butt welding to post.

wpid-wp-1423032605500.jpeg

A look after the welding and some bodywork. Also took out the bed seams.


wpid-wp-1423032549728.jpeg

Side shot after some 2k applied. Its what makes our trucks all diffferent.

wpid-wp-1423032465649.jpeg

Nice and they match!

Gallery Pics

Standard

Here are some of the pics from the start. Like I said, I started this project with after widening my rear fenders 3 inches. I ran with them painted primer for two years before I figured I’d have the time to finish and paint them. The next things I knew the glass was coming out and the bed was off the truck. And that’s where things got interesting..(Read More)

Getting Started

Standard

Looking at the picture of my truck you might say. Why take it a part! Well like all guys out there, we like to take things apart and change things to call it our own. In 2004 I bought this 56 small window pretty much as you see in the picture. It was built mid 80 it has a old school 79 Volare front clip. 1968 390fe (ford-edsel),  C6 trans, Holley 750cfm, Home made Headers, and 8.8 rear end.

Since then,I changed to a 600 Holley cfm, Rebuild C6, Change to Flow Master 40’s, went to a DUI coil pack, rewired complete truck with Painless wiring block and VDO gauges, Euro style headlights, LED rear lights,  down flow style four core Mattson radiator and two 12″ electric fans with shroud, Rear 20gal mustang gas tank in frame rails, tilt chrome column, bear claw door locks, tilt hood, tilt bed, lowered front and rear. Lokar pedal and cabling.      

The way I bought it was a pretty standard setup back in the day for these trucks once the original drive train is removed. Unless a Chevy 350 is used. I’m not much of a fan of putting a Chevy into a Ford. I know many that have and enjoy them but I’m blue through and through so we’ll stick to Henry’s drive train. I will do my best to document with text and pictures of my build. I must say this site is new and I started the re-do in 2012 with the rear fenders being widened and drove the truck with primer fenders until December 2013. And that’s where it all started.

tmp_11694-image1093724308