
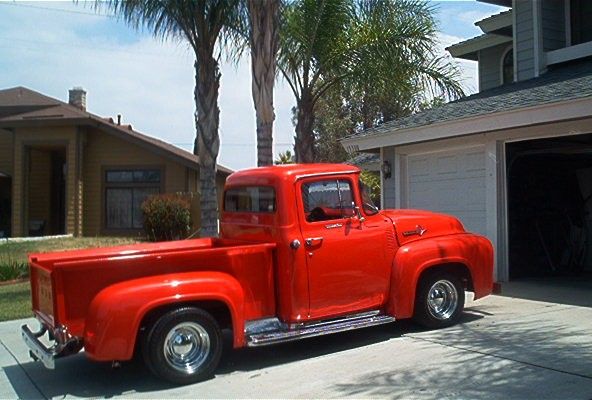
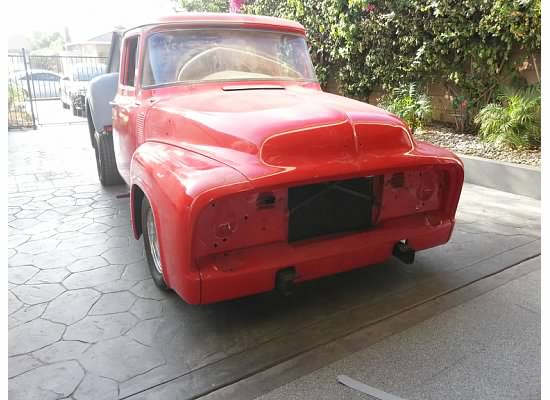
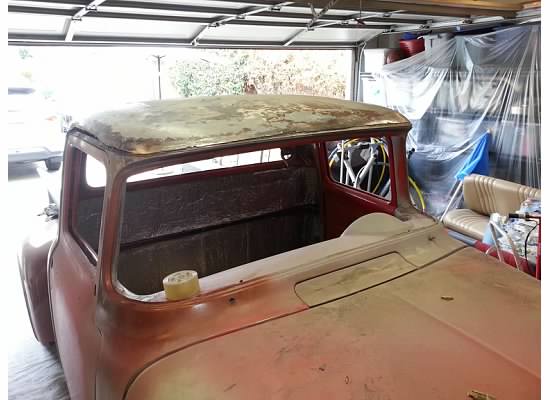
Here are some of the pics from the start. Like I said, I started this project with after widening my rear fenders 3 inches. I ran with them painted primer for two years before I figured I’d have the time to finish and paint them. The next things I knew the glass was coming out and the bed was off the truck. And that’s where things got interesting..
-
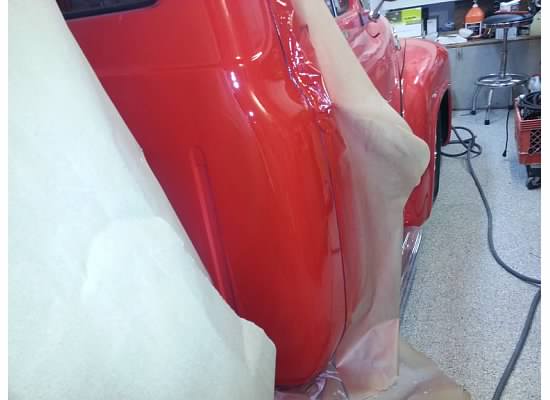
- Messing around with tape.
-
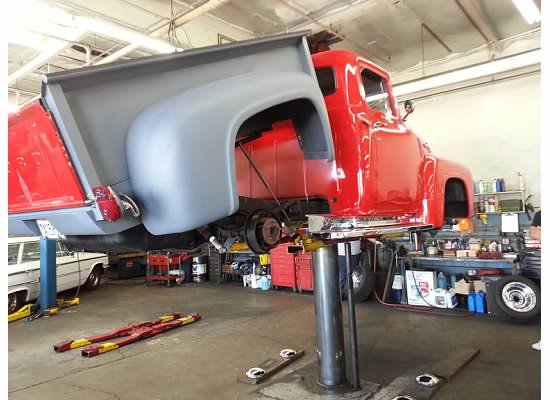
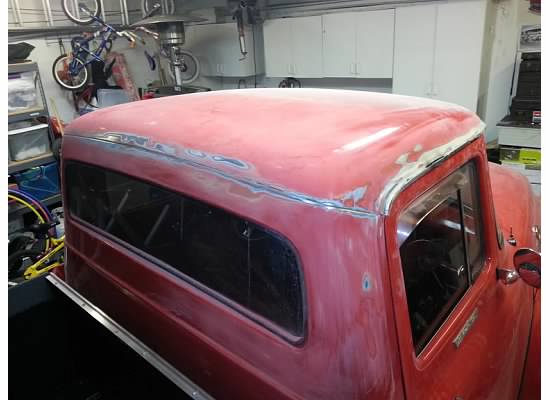
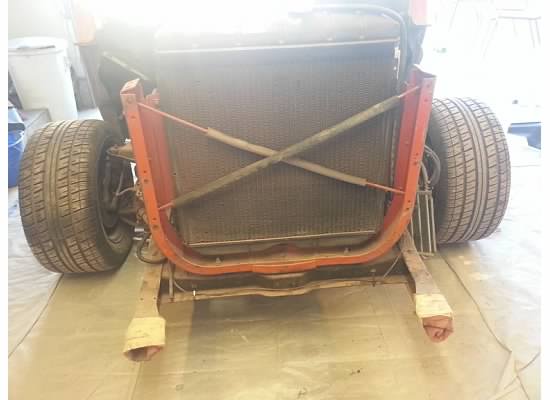
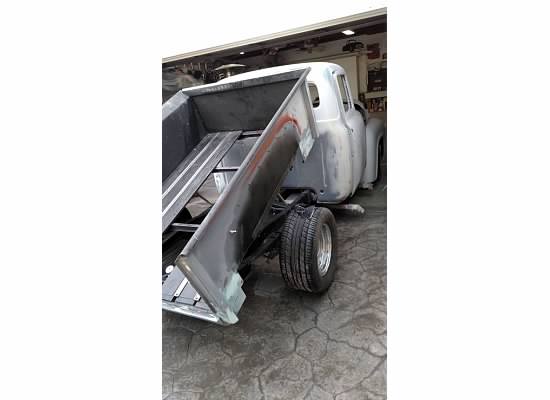
- Up on the rack at Glenn’s Aligment for PUL annual safety inspection. Notice the tilt bed we did in 2013.
-
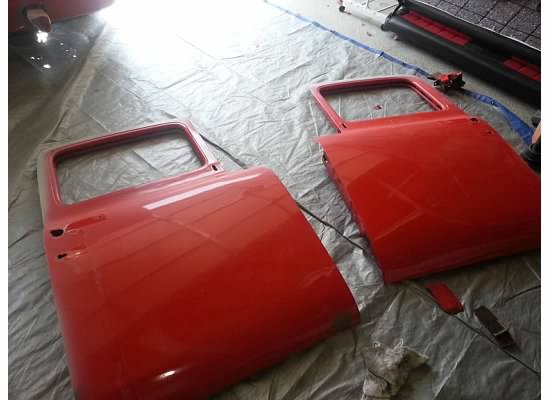
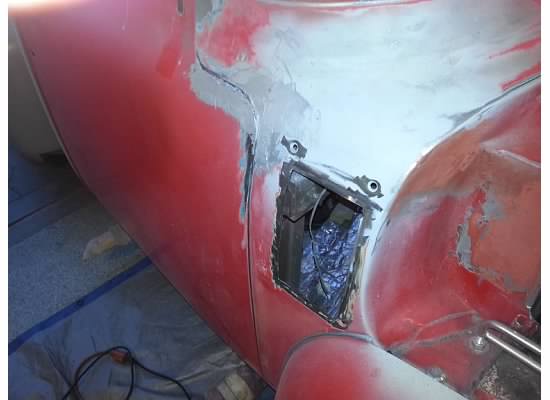
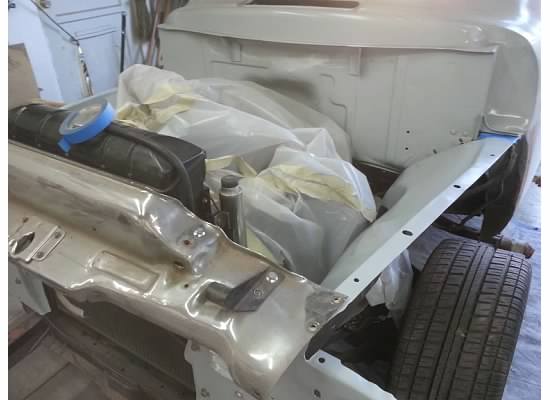
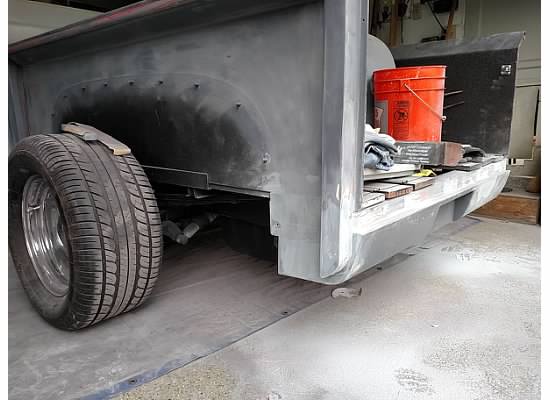
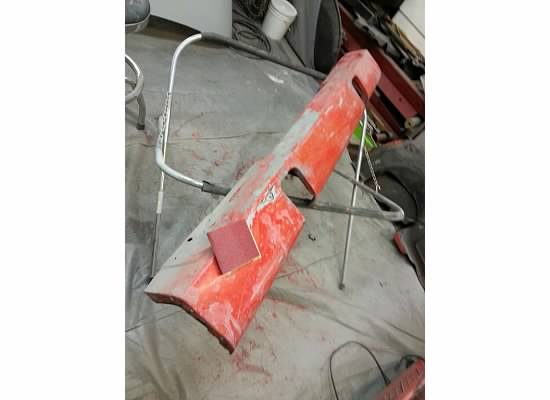
- Took out the gas tank and placed a mustang tank in the rear frame rails. I did the body work and this was after I painted it.
-
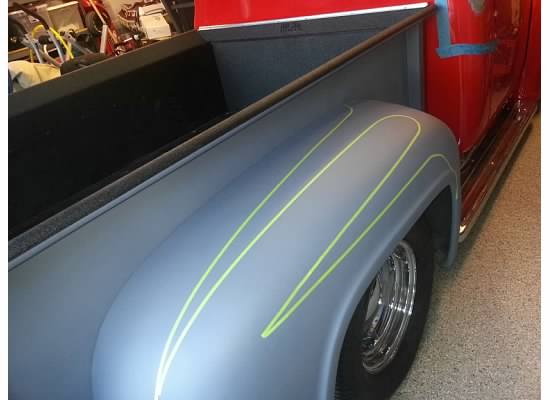
- Before I started I was playing around with pinstriping tape.
-
- Getting nake
-
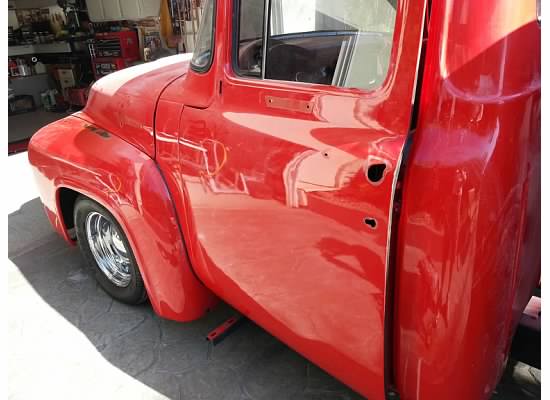
- Started the process of removing the badages and door handles
-
- cab work on the lines before I decided to remove the drip rail.
-
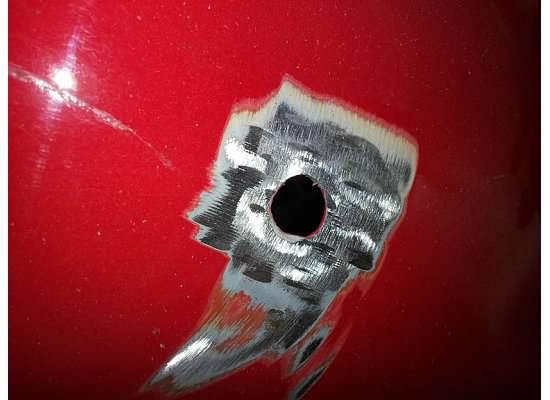
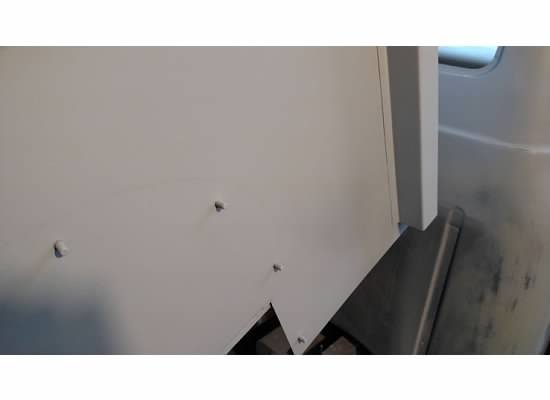
- Patching the holes from removing the emblems
-
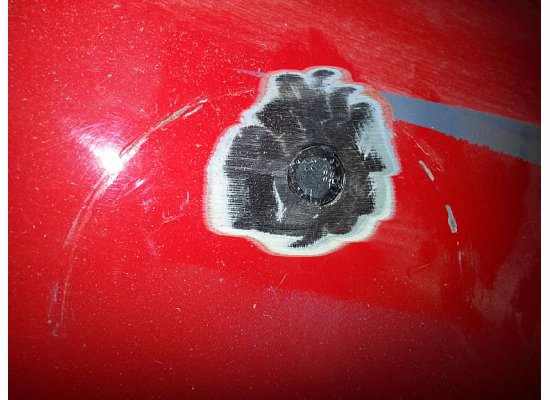
- Welded up the holes. Anythine larger then a nickel I cut metal and weled in. Otherwise I used a chopper welders spoon to weld up the holes
-
- Nice looking so far and the welding
-
- These got to go.
-
- Door corners were rounded.
-
- Tack in corner pieces.
-
- rounding corners
-
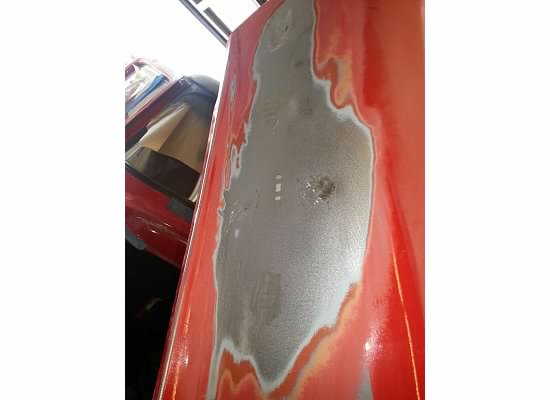
- Used some All Metal prodcut and evercoat small fiber body filler. This stuff sands very easy,
-
- Working it some more
-
- Test fixing the corner before welding into place
-
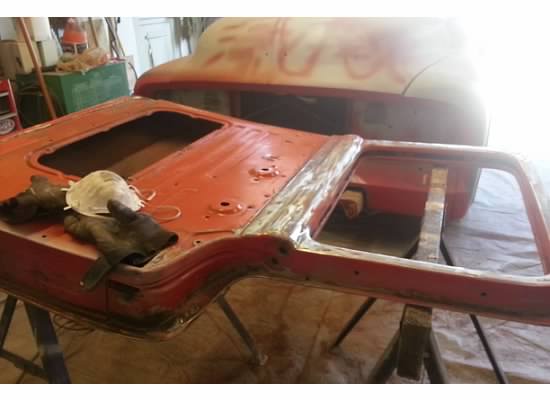
- This has to go. Fresh air vent GONE!
-
- All gone.
-
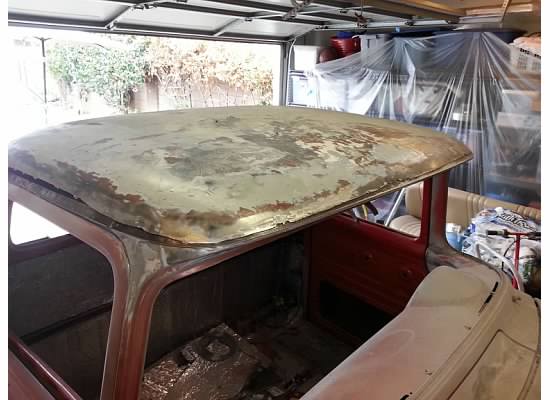
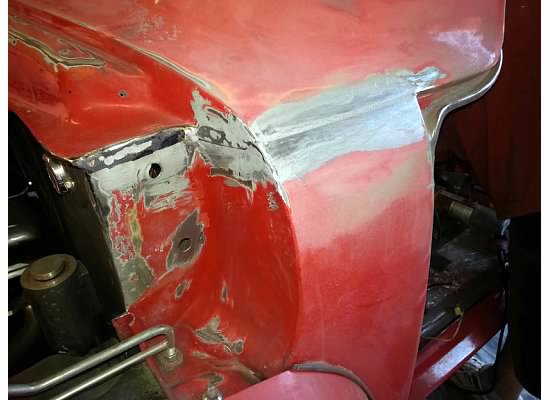
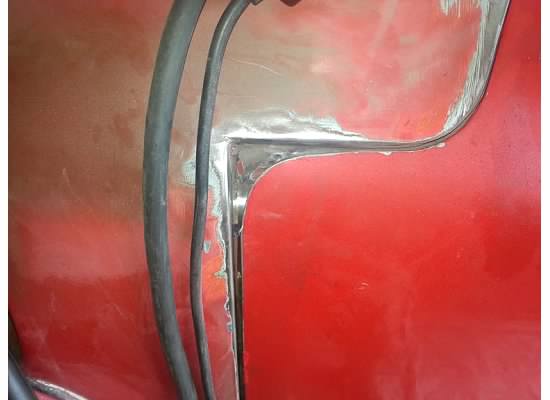
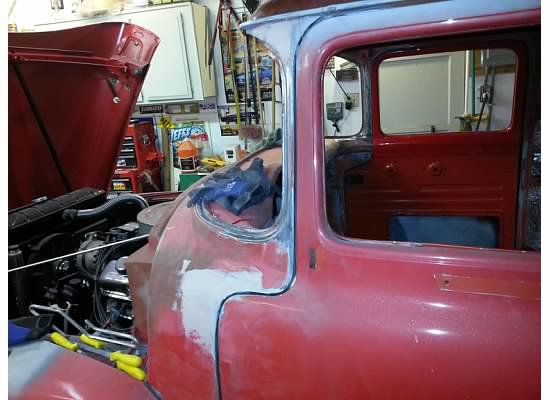
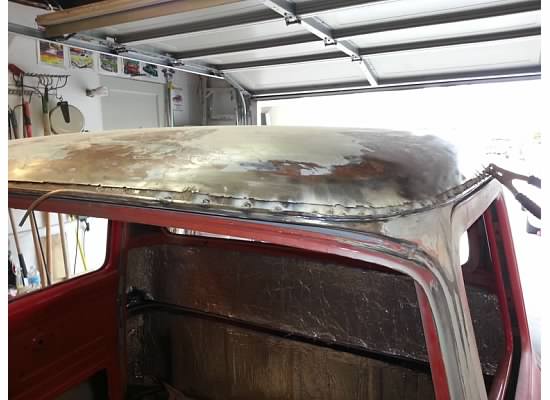
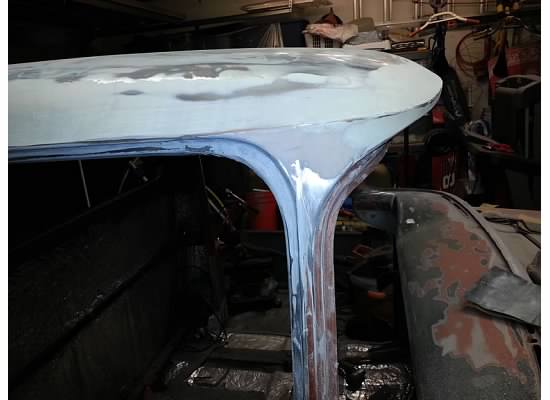
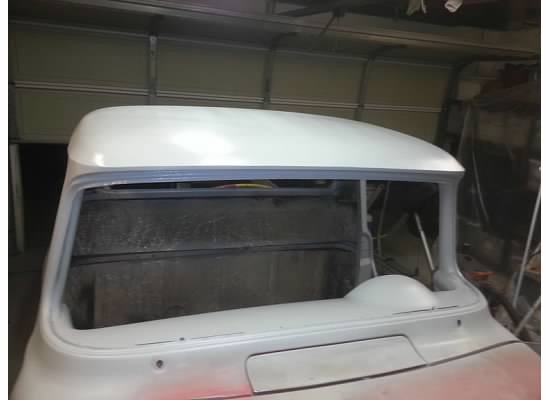
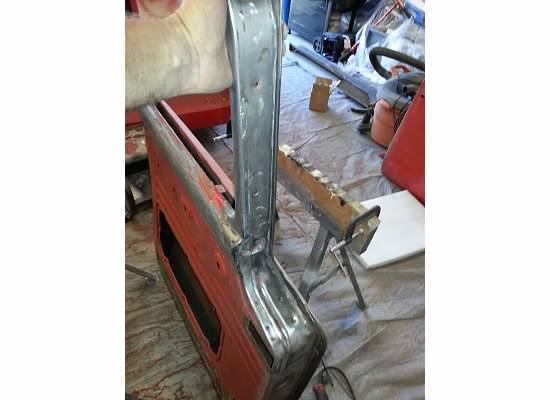
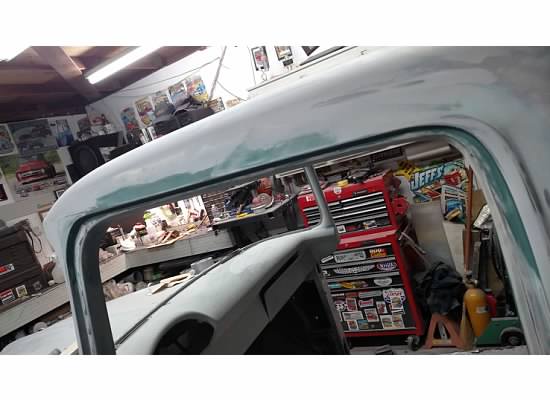
- Now the drip rail. This has to be the worst area on most trucks.
-
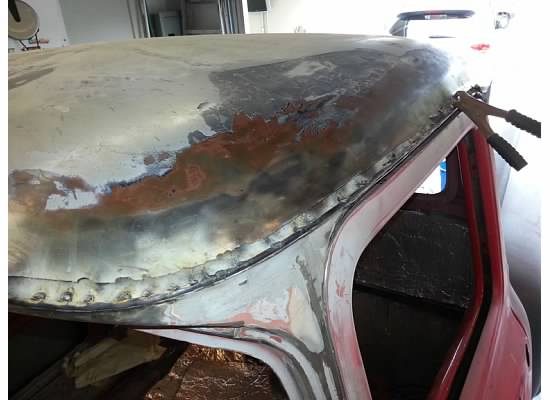
- Cleaned out the old rust and filler before welding and filling with Evercoat All Metal product.
-
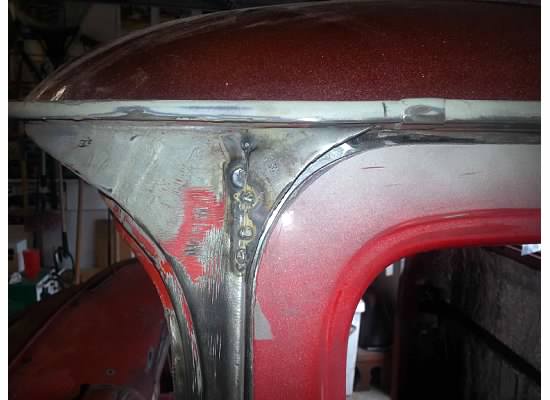
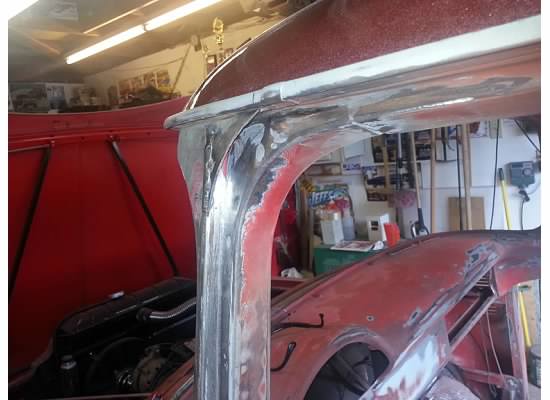
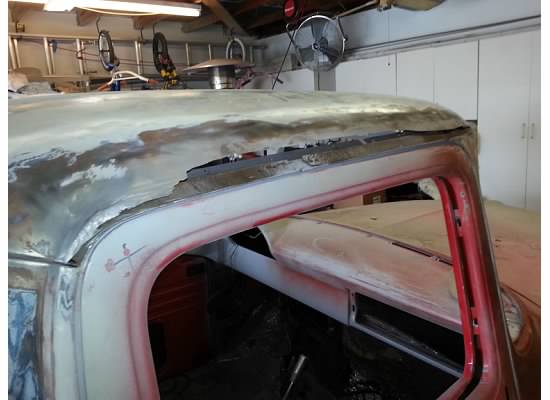
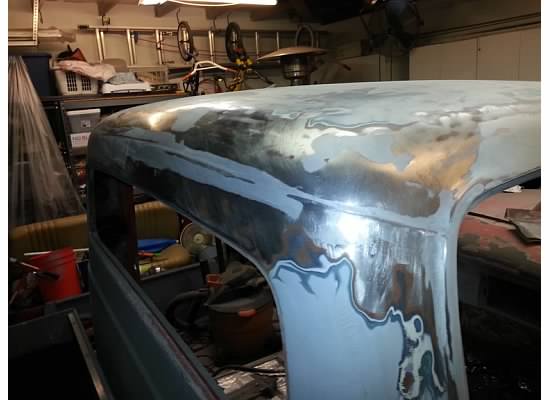
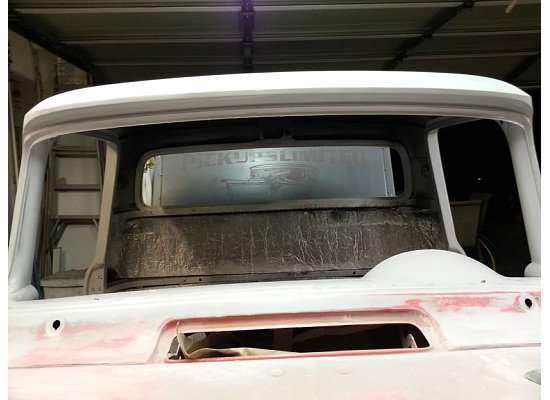
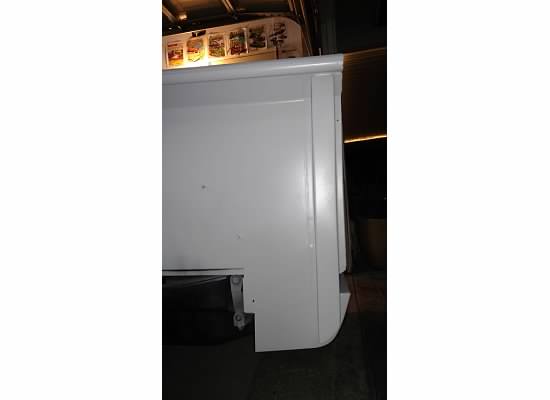
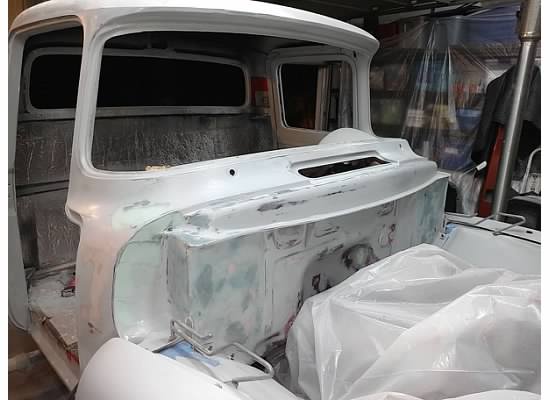
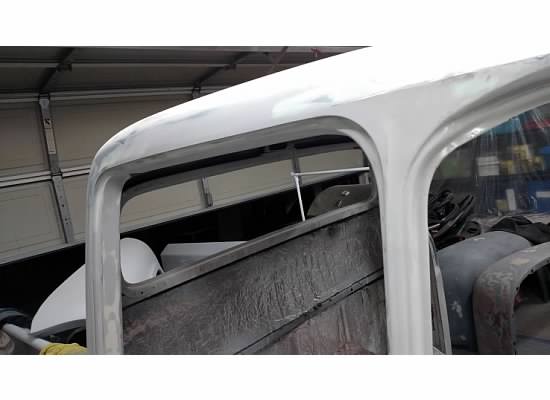
- The roof dropped down about 3/4 of a inch. Kind of like the look.
-
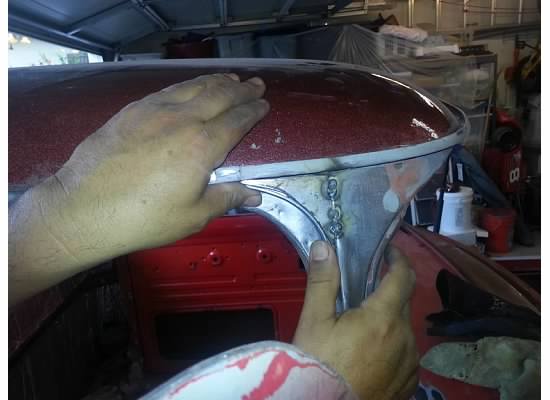
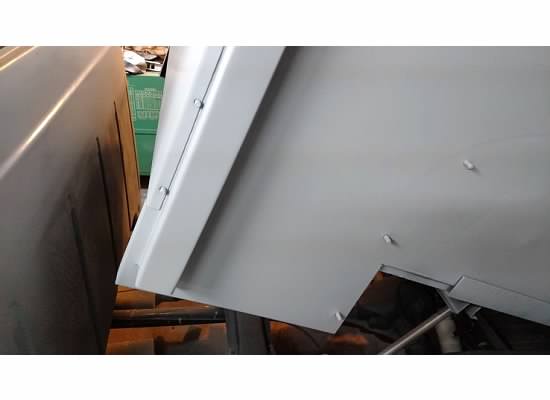
- Had to add a edge. to get my line to work from.
-
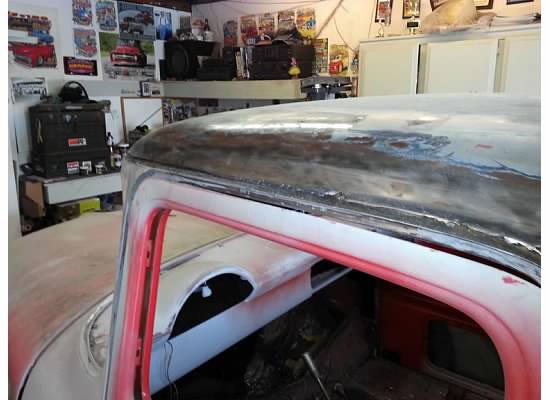
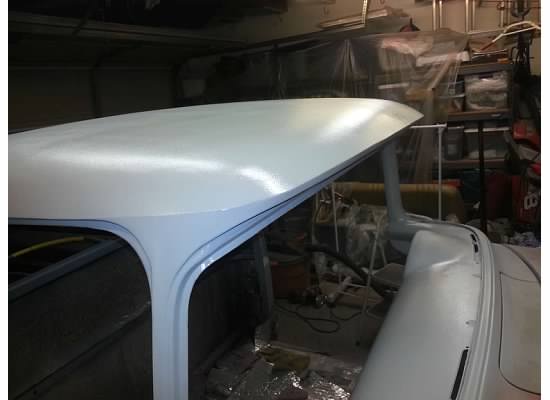
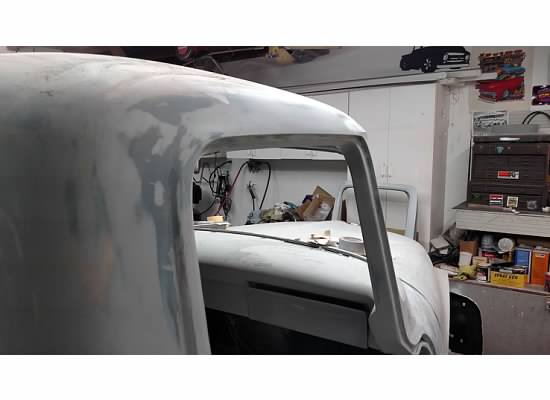
- Cool look its going to have with the tilt bed and reverse hood.
-
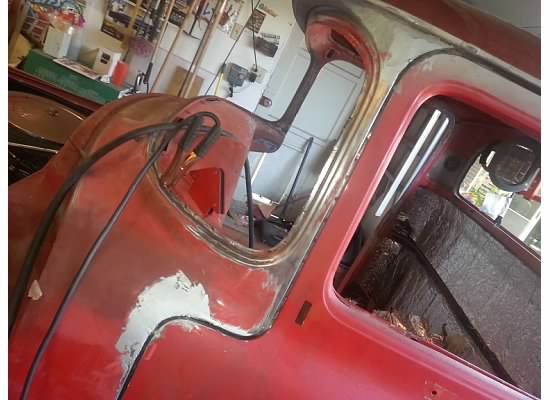
- working the line. Takes time.
-
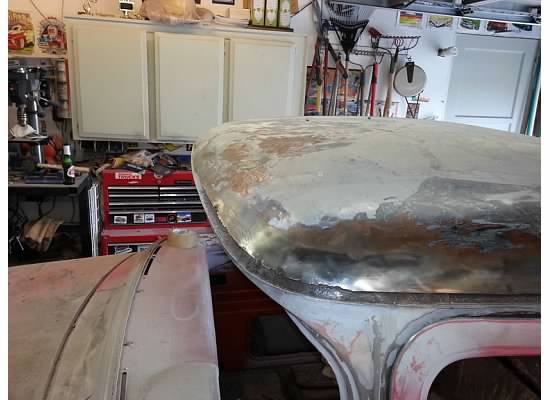
- Got to go.

-
- Different look for sure. This is what makes our trucks our own.
-
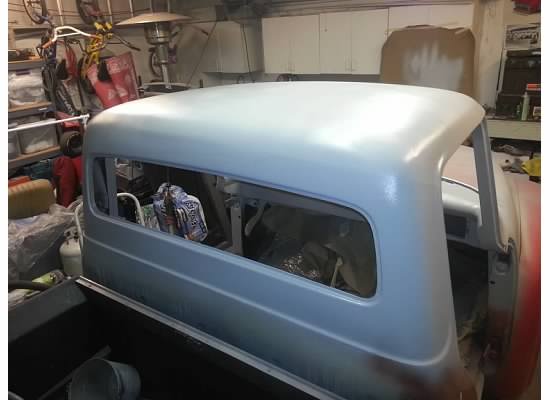
- Nice looking
-
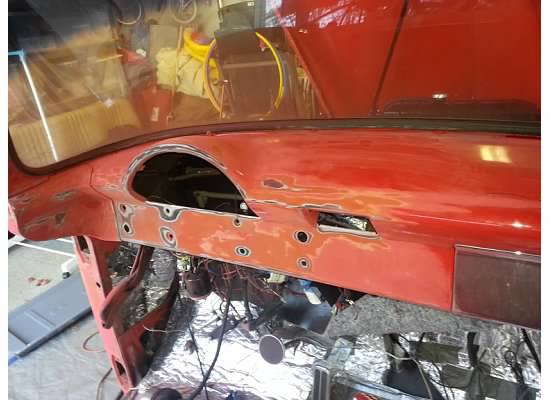
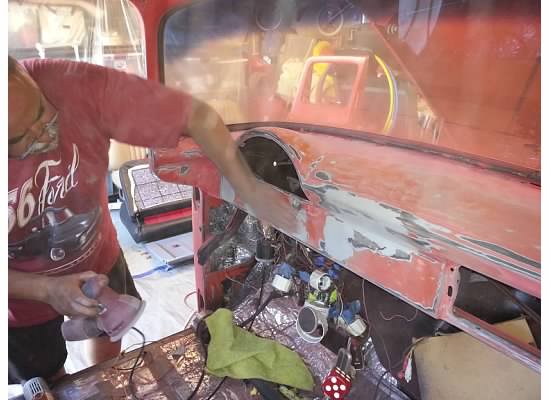
- Inside before the major work was done
-
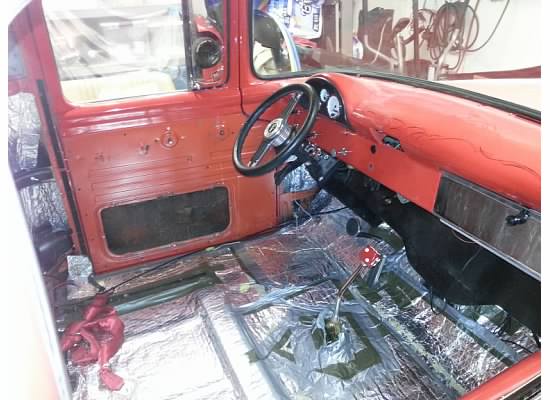
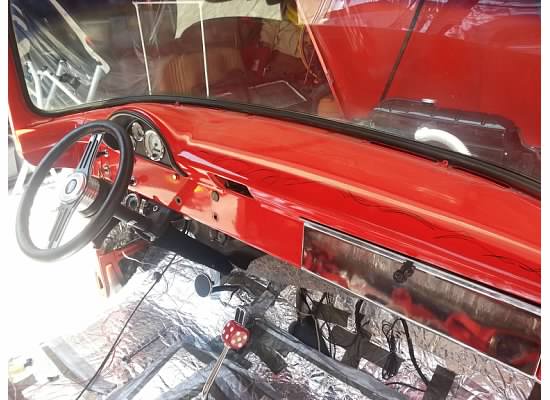
- Inside the cab before the work started. Stock column I cut down its now gone and a new chrome tilt going in.
-
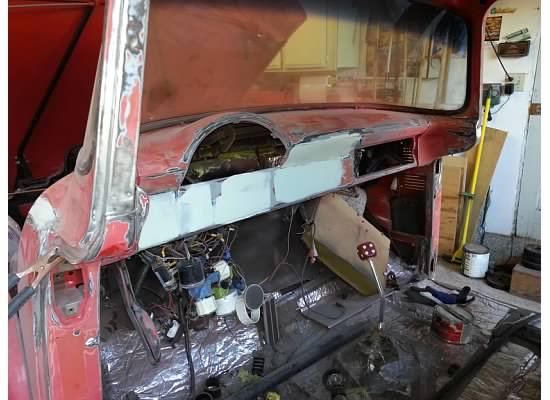
- We decided to take off all controls and remove ash tray. I sold that on Ebay it was chrome.
-
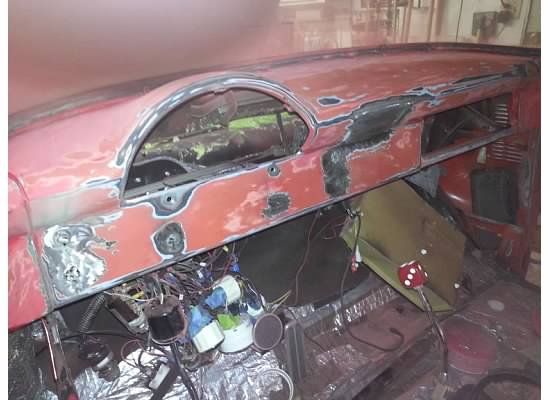
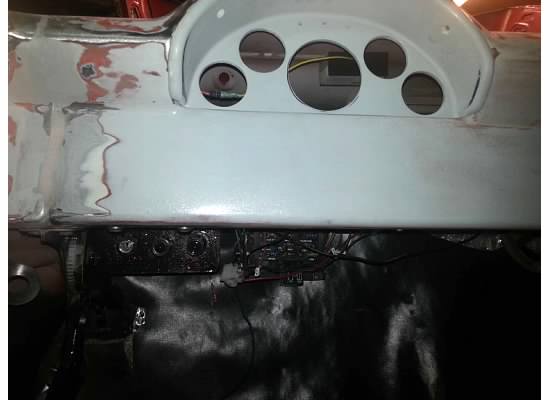
- If you notice I even welded bolts for the instrument cluster and now use butterfly nuts on the backside to hold it in place.
-
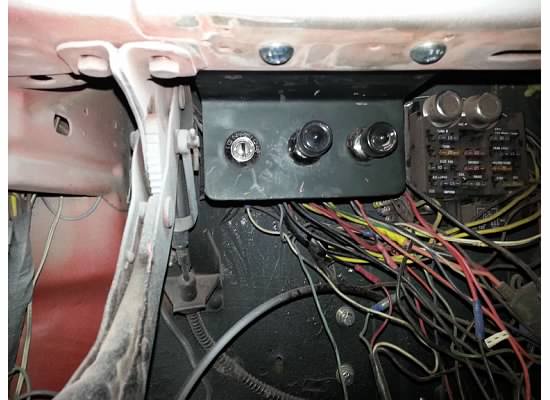
- Moved the controls under dash. Still needs some loving touch work.
-
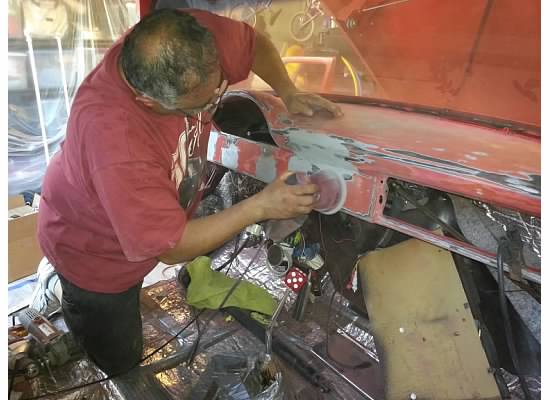
- My buddy helping out on the dash.
-
- Getting there.
-
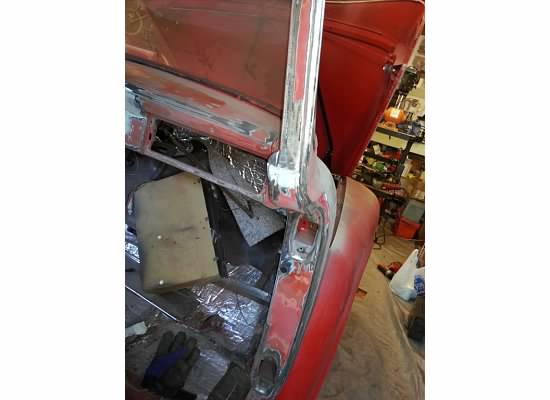
- Door jams got a lot of attention. Smoothed out everything.
-
- Also added connector plugs for the insturment cluster for easy remooval.
-
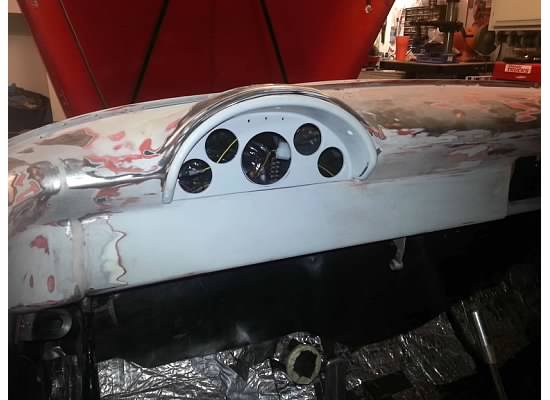
- Test fix of the cluster. Notice no screws to hold it in place.
-
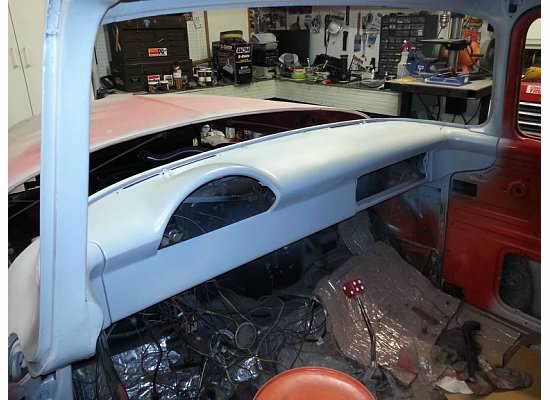
- Nice smooth look.
-
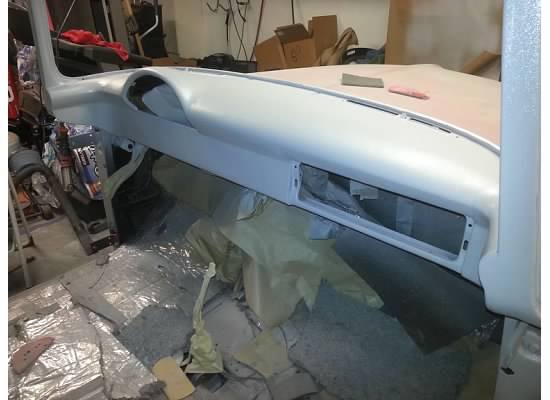
- Once done only the chrome column and wheel will catch your eye.
-
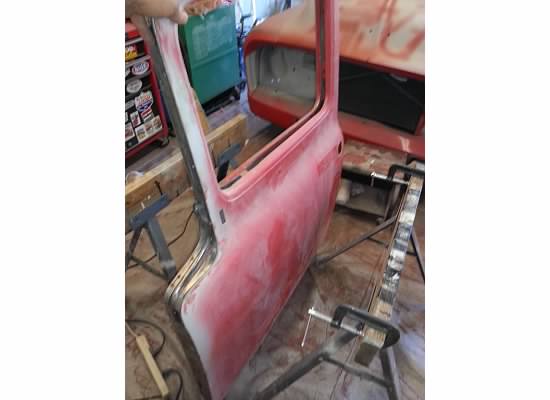
- Starting the doors. I used aircraft paint remover and sanded down to metal.
-
- Working out the lines.
-
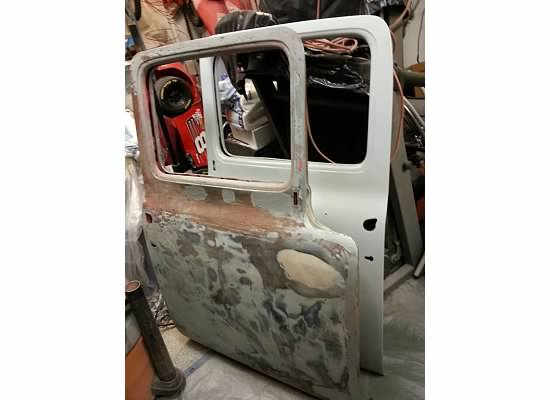
- Getting there.
-
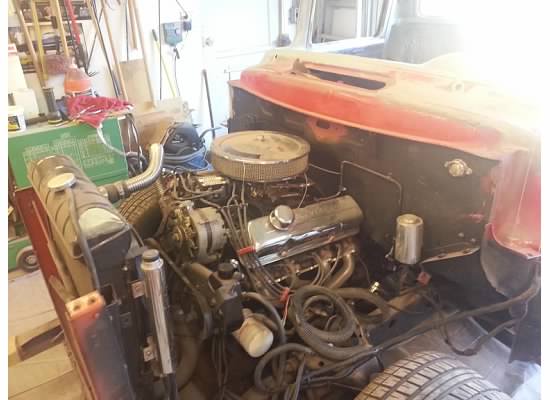
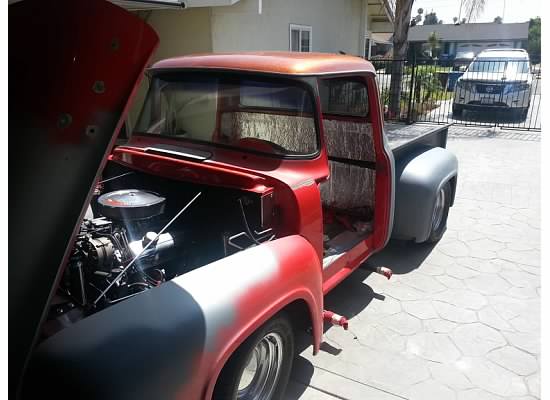
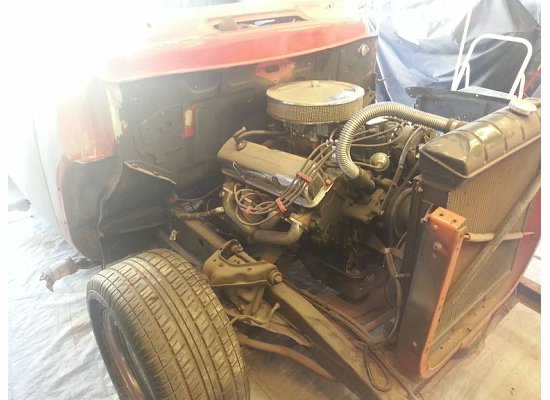
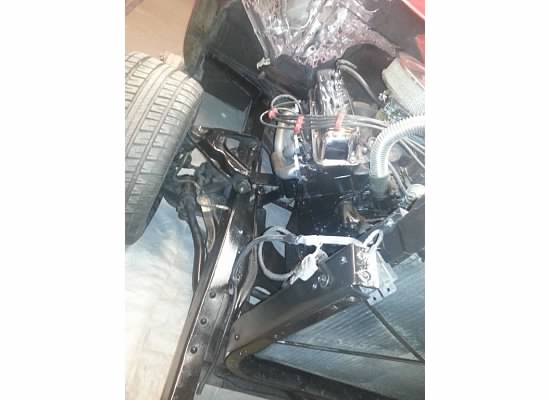
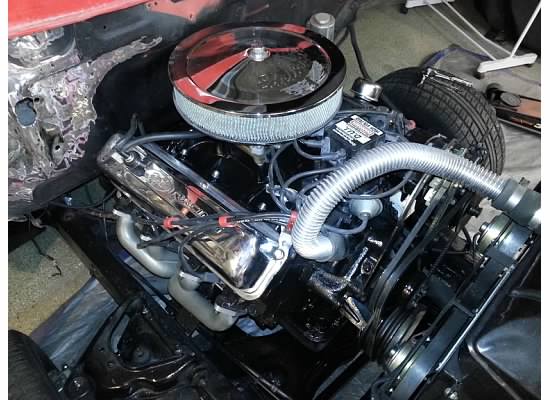
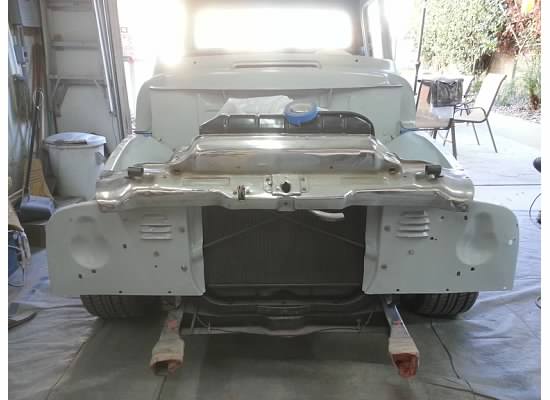
- Taking a break to clean the engine area.
-

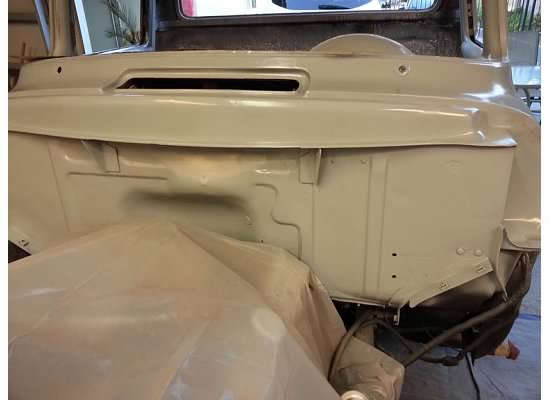
- Got some work here.
-
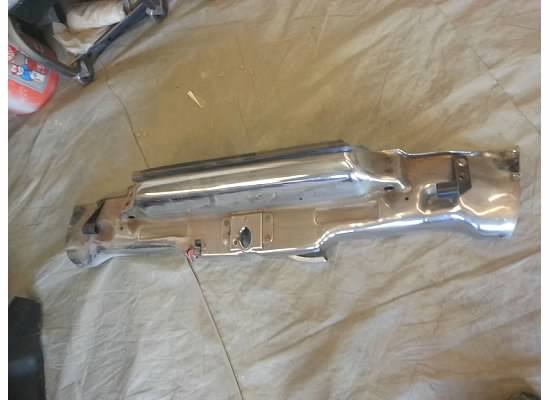
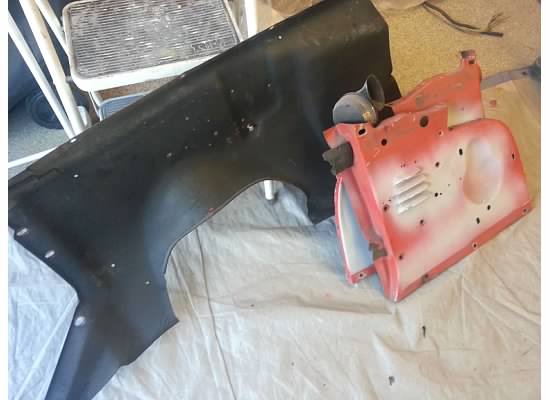
- Radiator valance is chrome. Might powder coat instead.

-
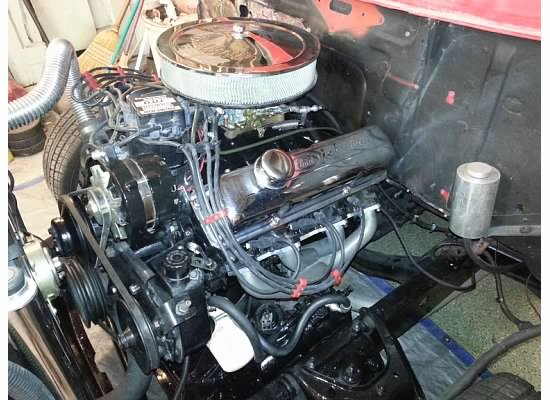
- Cleaned up pretty good. Reset the headers and gas line.
-
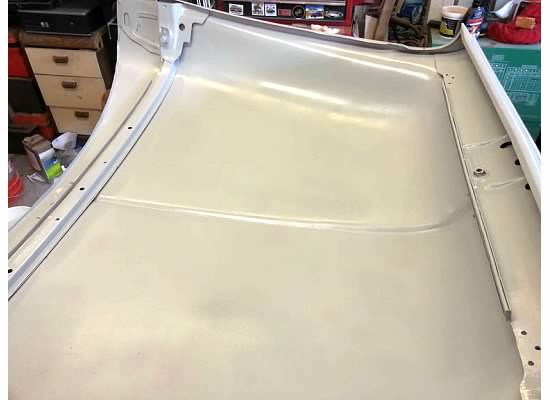
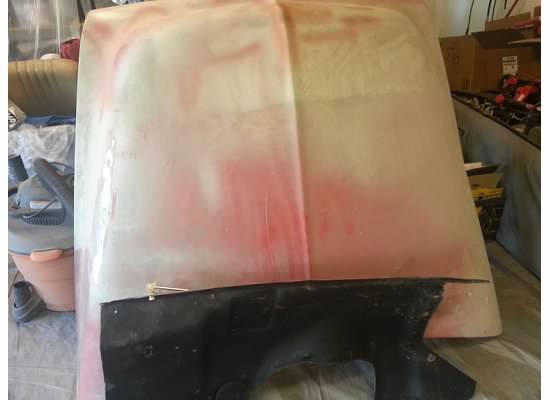
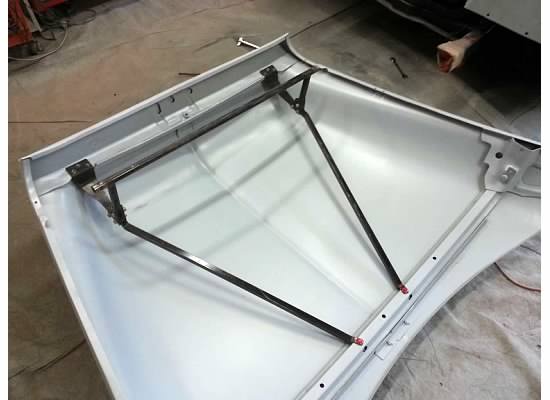
- Underside of hood
-
- Welding up holes
-
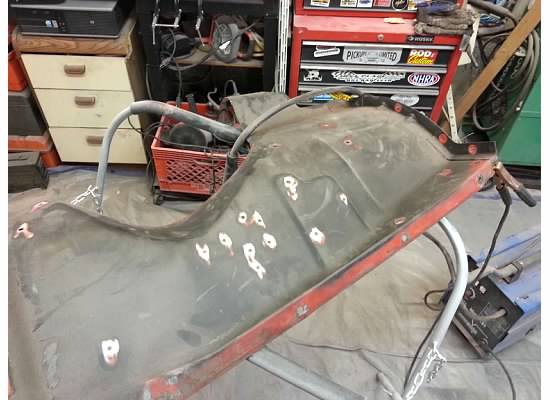
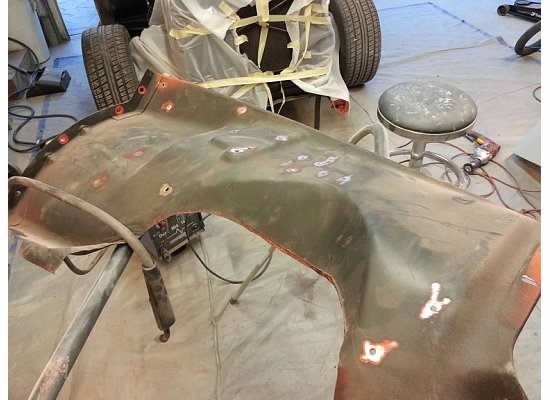
- Inner fenders need some welding.
-

- After the 2k primer
-
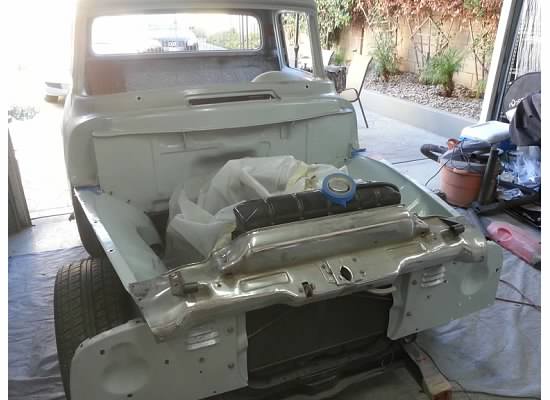
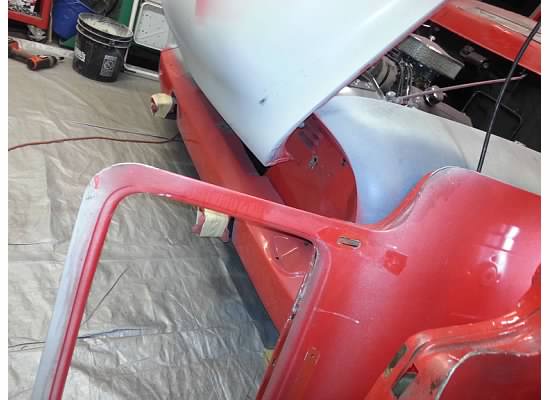
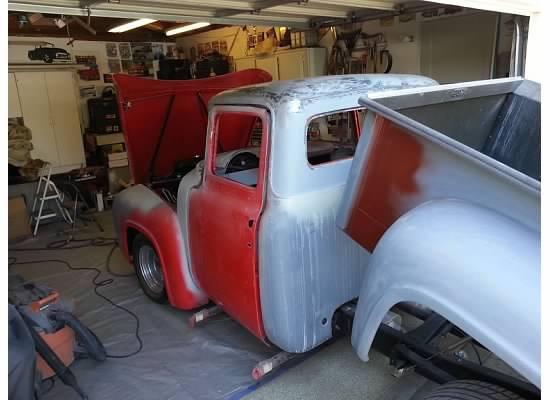
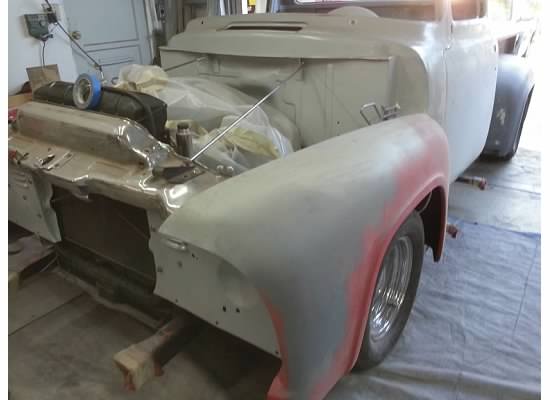
- Test fix learned a lot about front metal alignment to cab. More on this later.
-
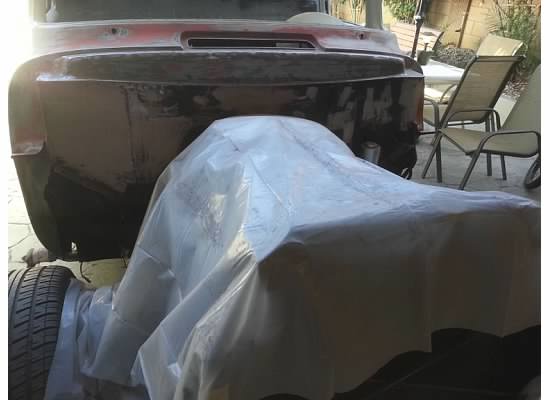
- Test fix before taking aback of for sanding and paint.
-
- Took out the lines and dropped the bed post.
-
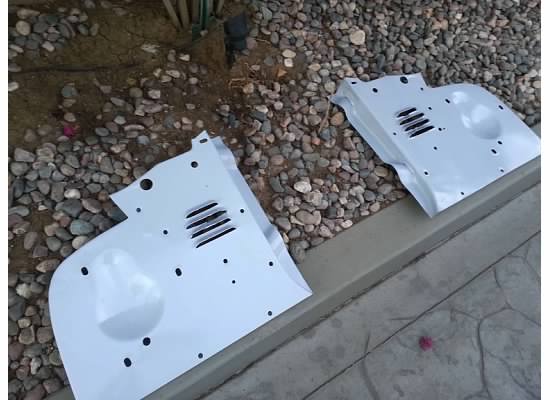
- Made these from 16 gauge steel. Or could have purchased for $45 bucks. It was fun to make. Done
-
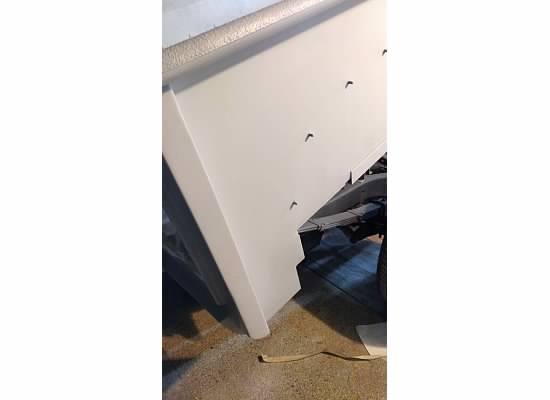
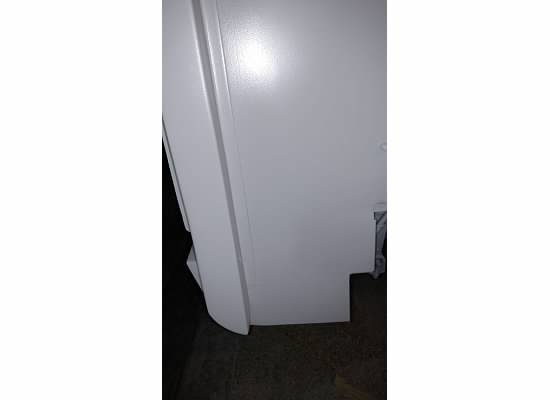
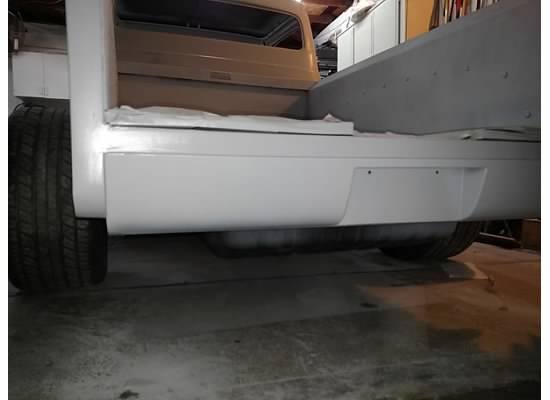
- After the 2k primer
-
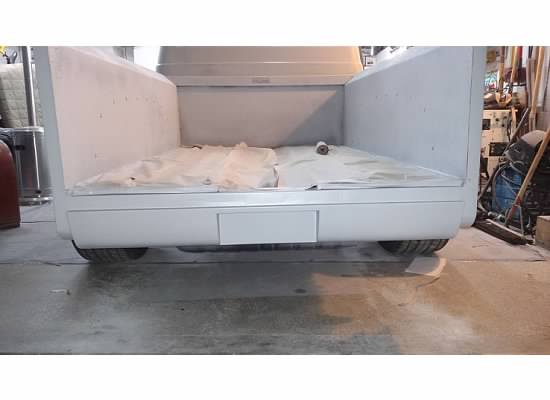
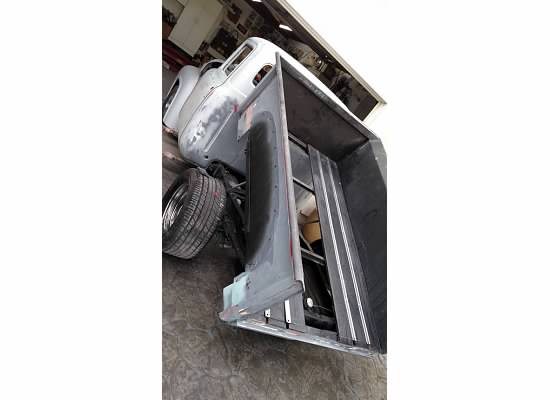
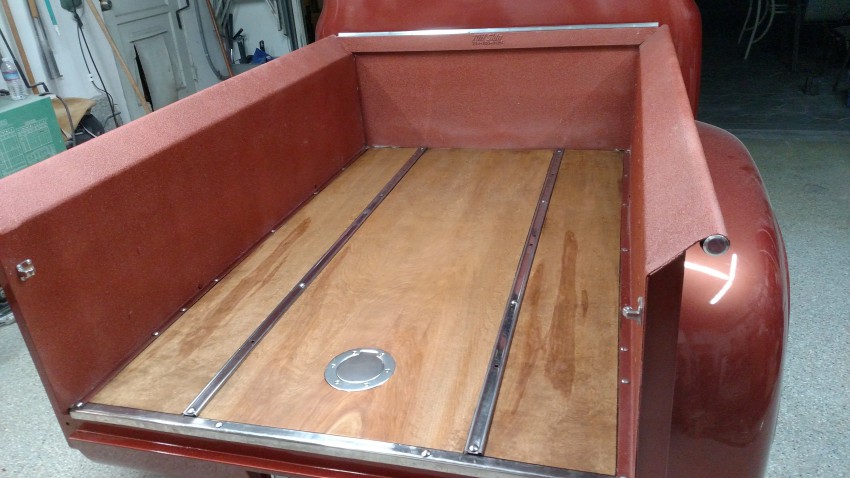
- Nice look. Notice the gas tank in rear of frame.
-
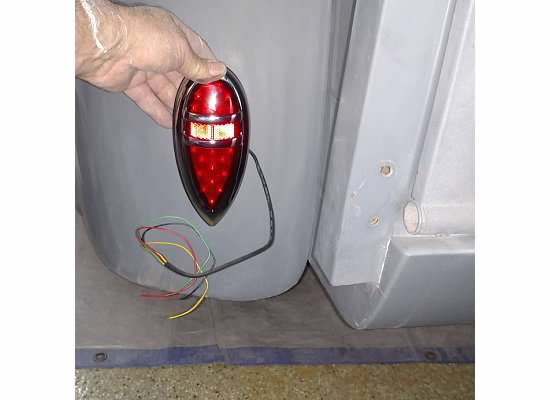
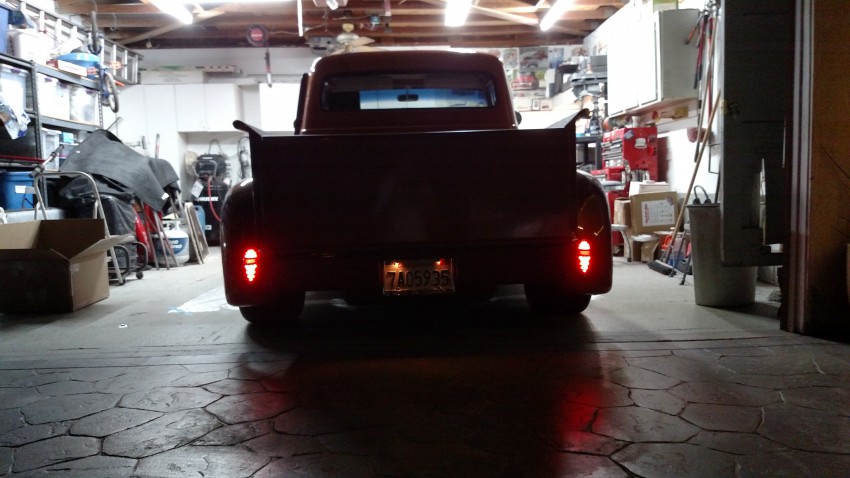
- LED Lincoln tail lights
-
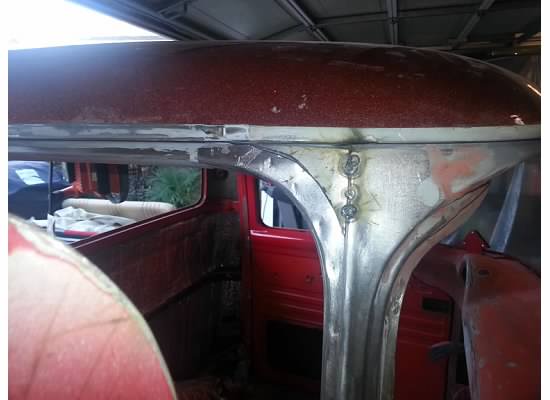
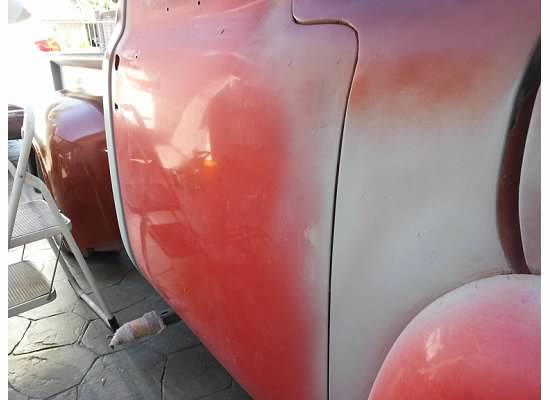
- Dropped the edge down to close the gap on the top of the door.
-
- It took some time to get the same on both sides. Aome late night sessions.
-
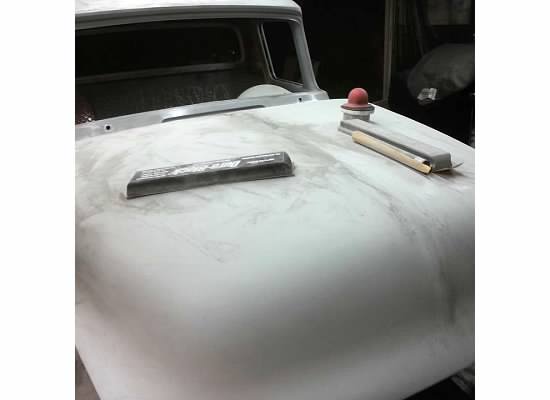
- Stopped here blocking the hood.
-
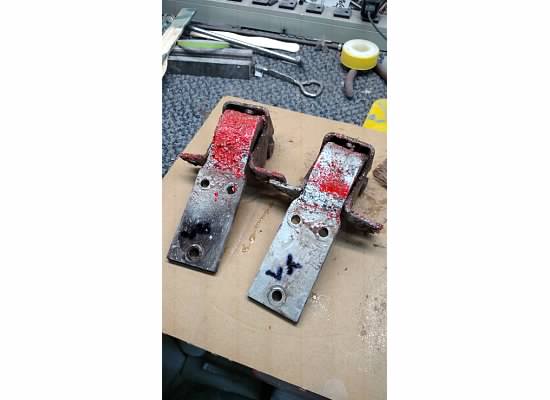
- Stripping the paint off the hinges.
-
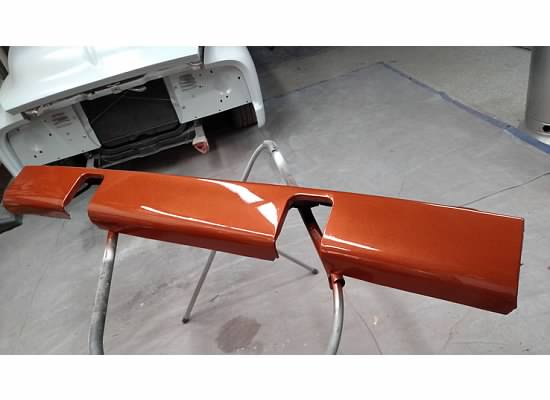
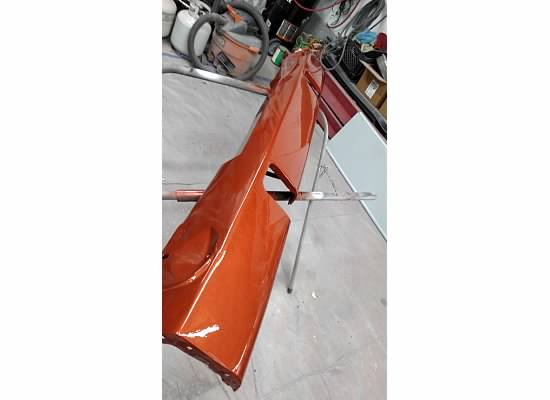
- Test spray of the new color.
More to follow…
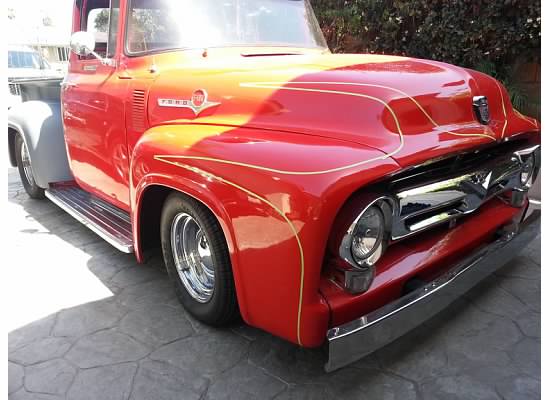
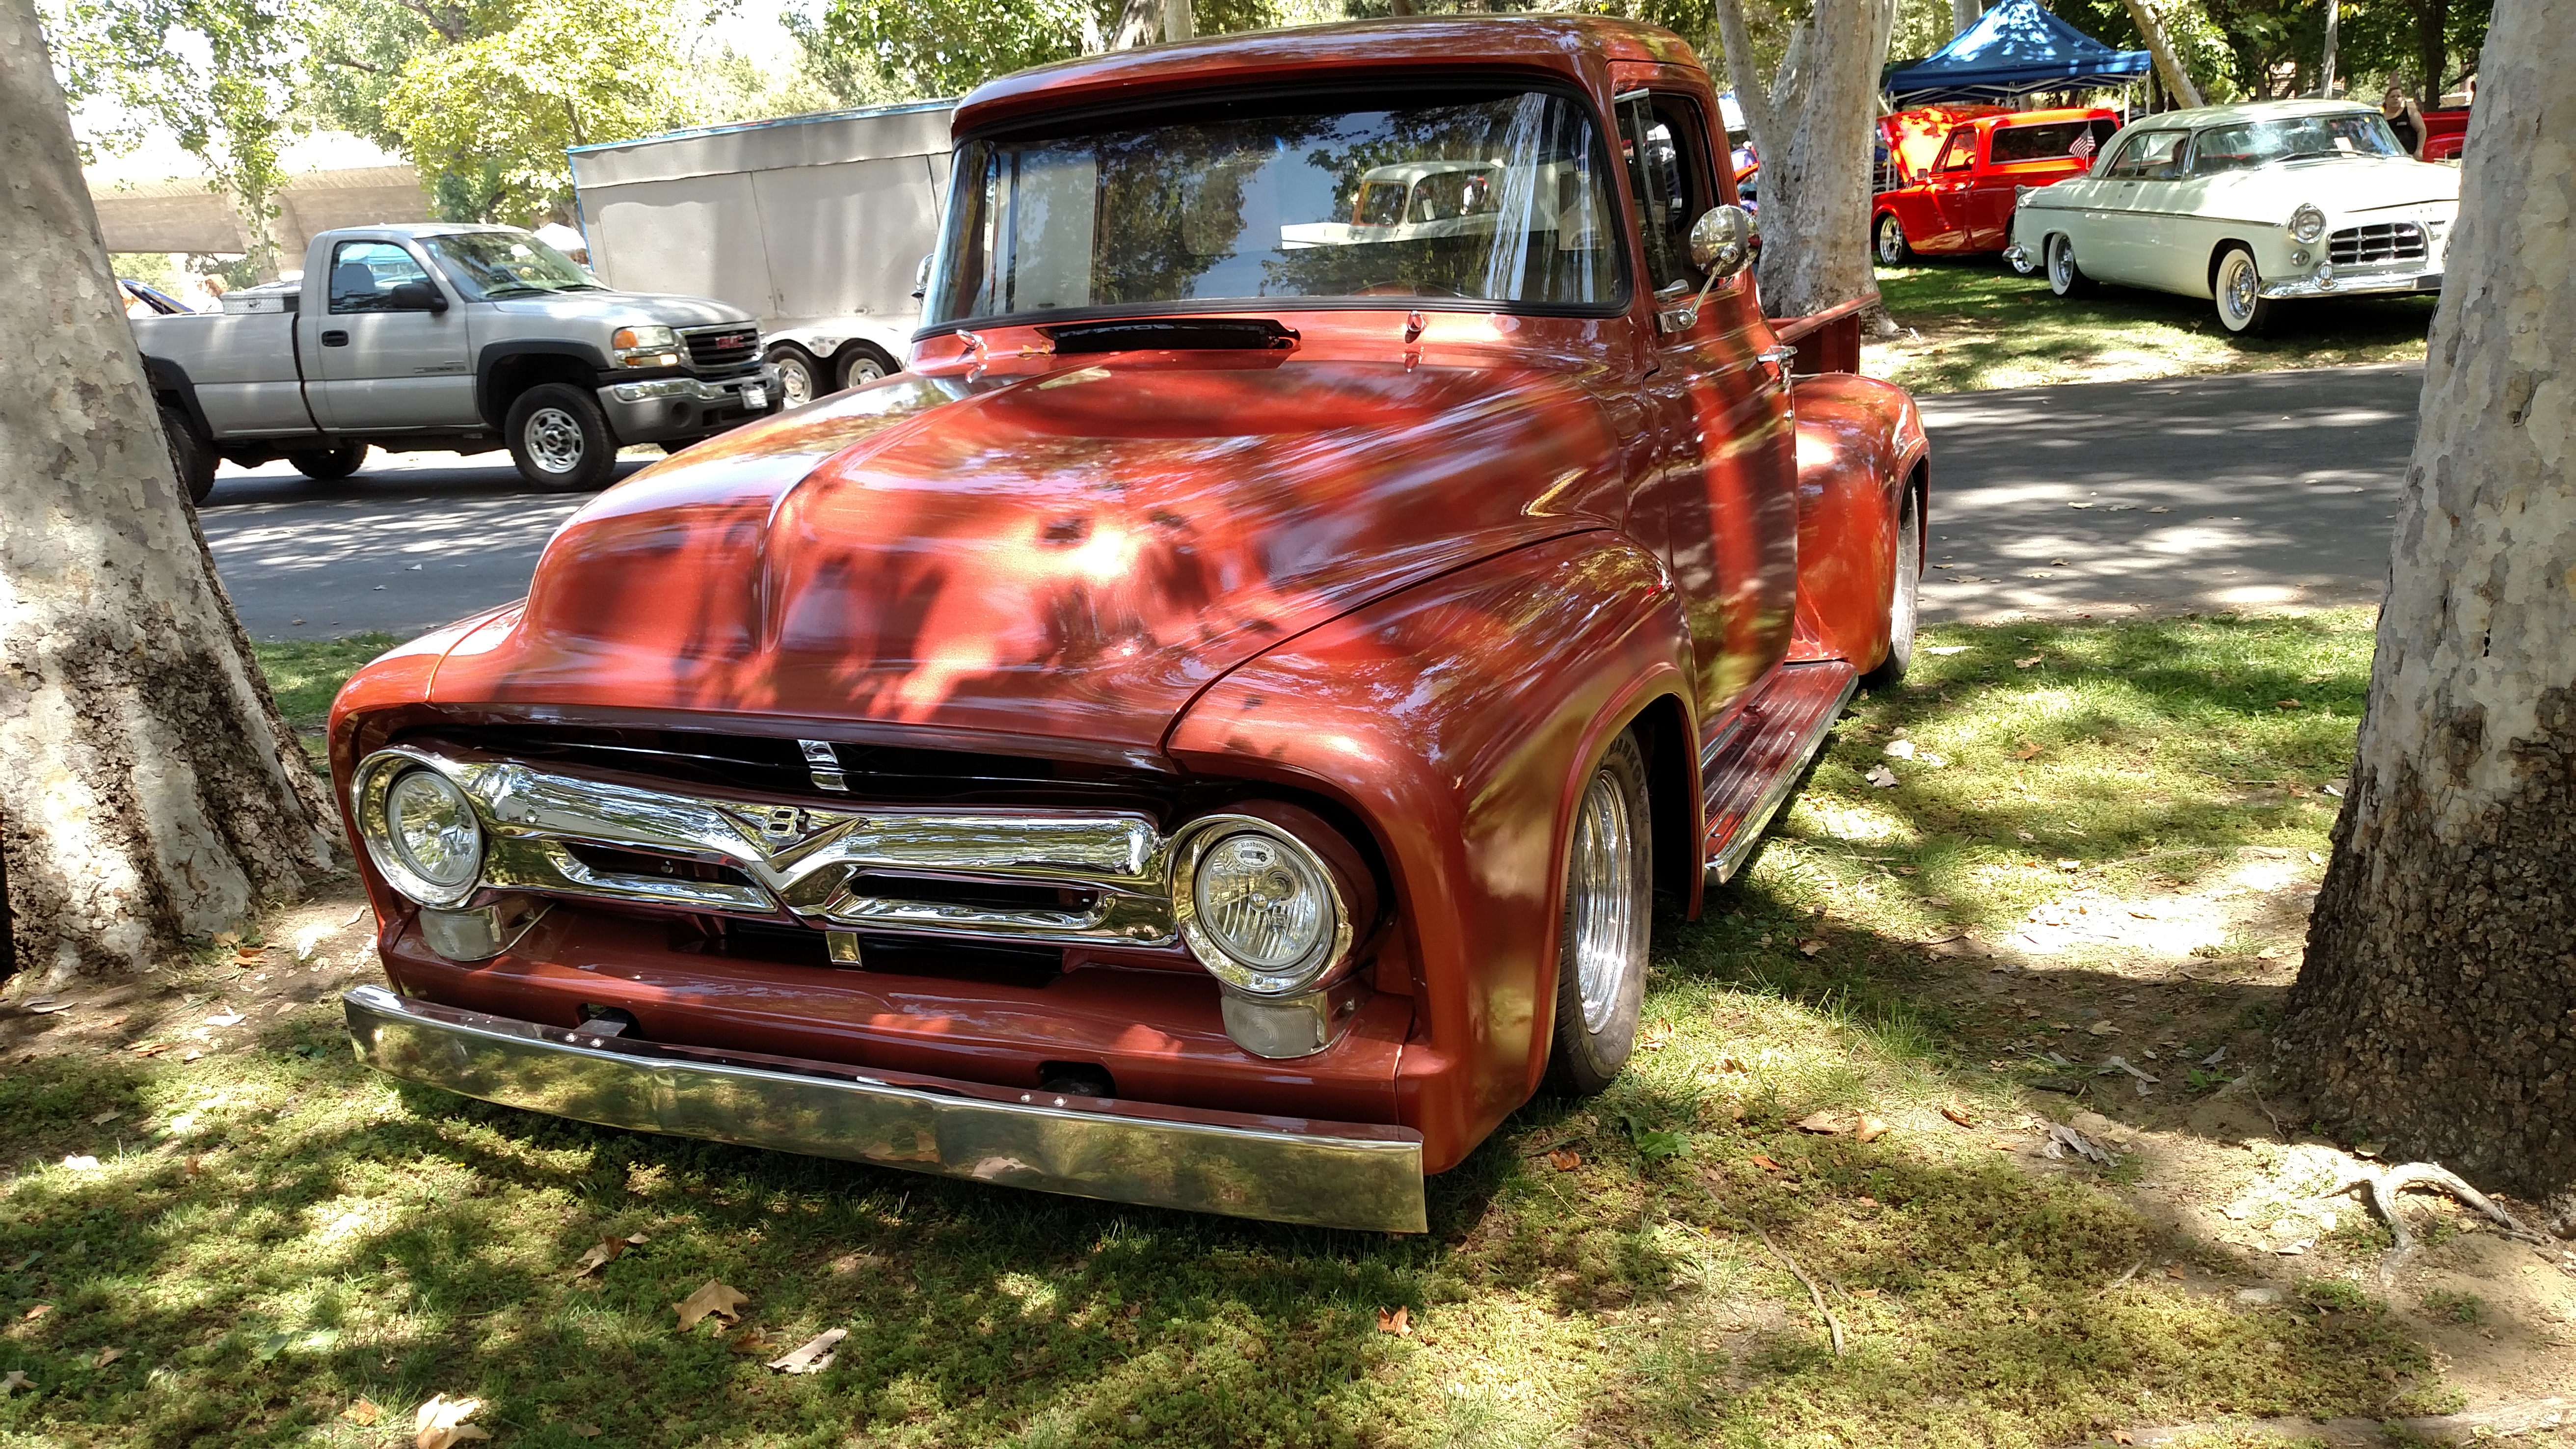
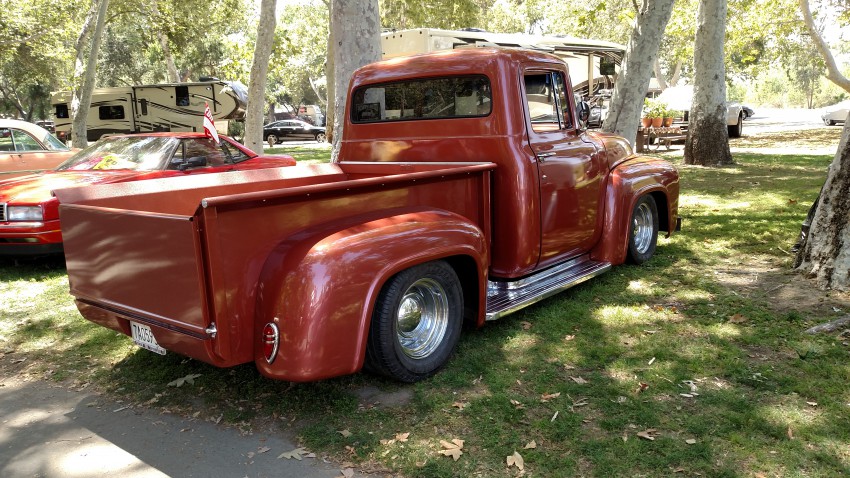
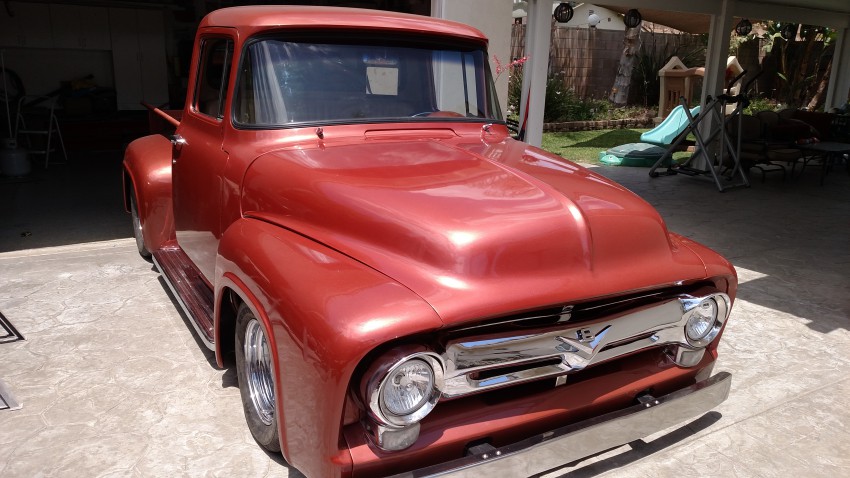
Well the truck is done and here are a few of those pics.

I AM impressed, looking great Ed. Will Willis
LikeLiked by 1 person