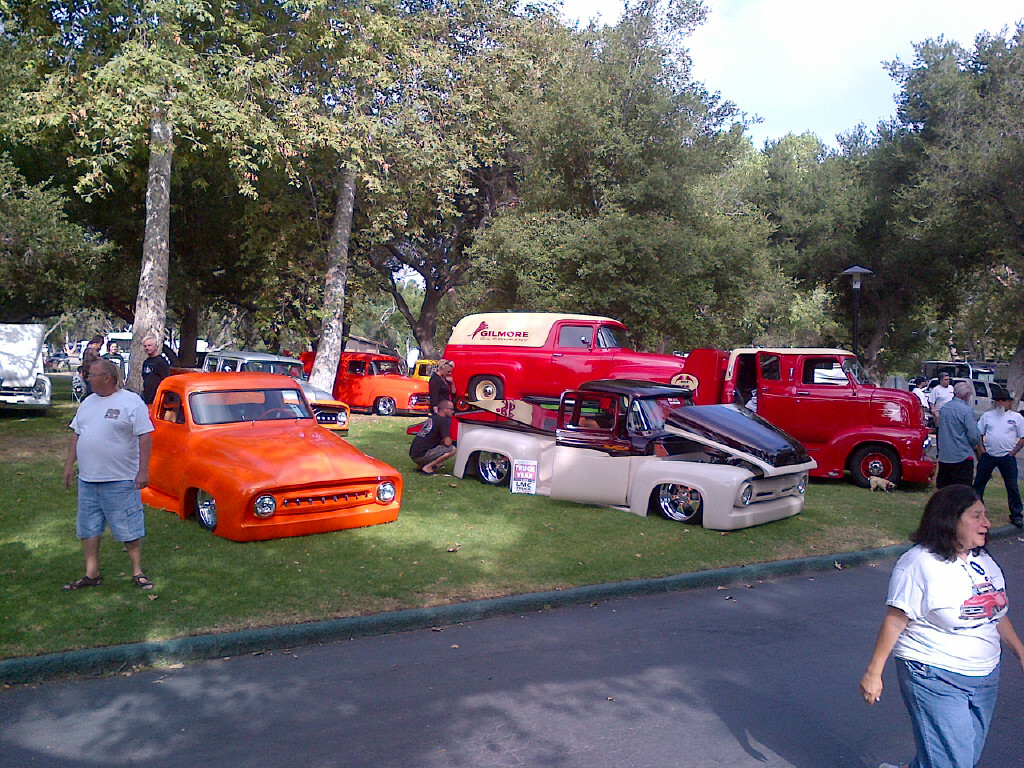
Another nice day hanging with buddies at the annual LA Roaster Show a day before Fathers Day.
We met at the IHOP on Arrow Hwy and after a high cholesterol breakfast we threw drown some coin and Cruised to gate 15. The usual suspects were in line waiting to make the gate as some tried to cut between us but we try to stay tight but failed. Oh well, its just another day at Pomona. With sunscreen on we followed Dusty as he headed to our spot. Once parked the hoods go up and we head towards the swap area to fulfill our need for stuff.
As we make our way we spot the Bobco trucks and say hi to many as we got bargains on our minds as we continue to row 1.
Chris, Dusty, Rich and me share stories of parts and stuff found at other swaps past. Most of this stuff starts to look the same after row 6 and we have bags of things causing pain in our hands so we headed for the trucks to rest, before heading into the vendor hall.
William and Davis from Primer Podcast stop by to visit and reminisce about the F100 Western Nationals. The sun is gaining power and we bid farewell to them and head for the cool hall.
On our way we had to stop, as we all stood with our hands over our hearts as the Star Spangled Banner was sang. Chris made mention how awesome for a show this size that Everyone stopped and turn towards our flag, It was moving.
Once in the hall the cool AC quickly cooled us down and we were happy. So many vendors and so little money. But we had our dreams to keep us strong. Rich and I lost track of Chris and Dusty about 3 quarters of the way through the hall and headed out side to view the Roasters. We had a brief visit with Von Hot Rod and made our way back to the trucks.
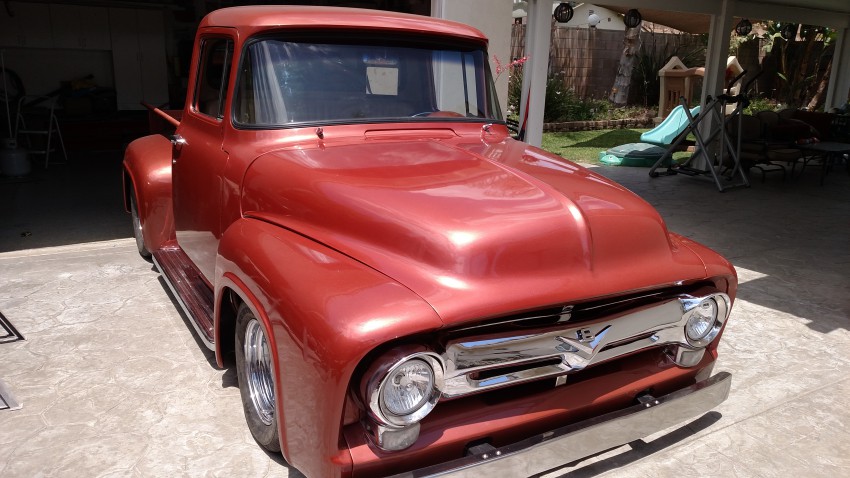
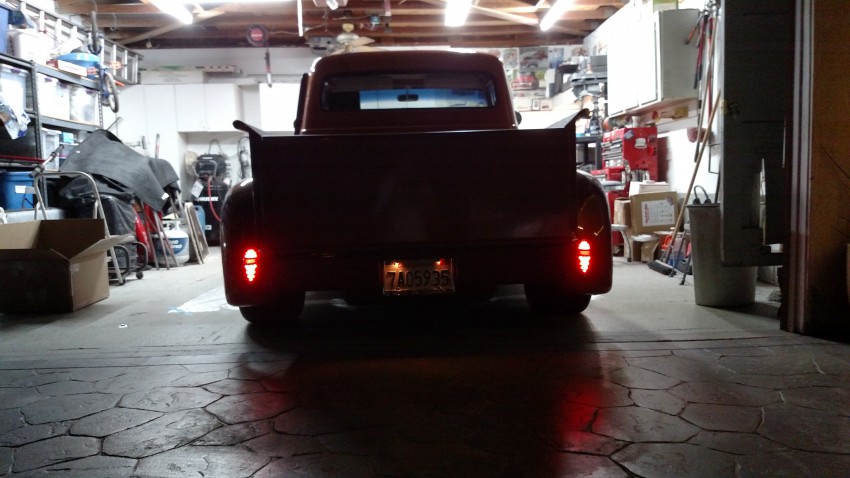
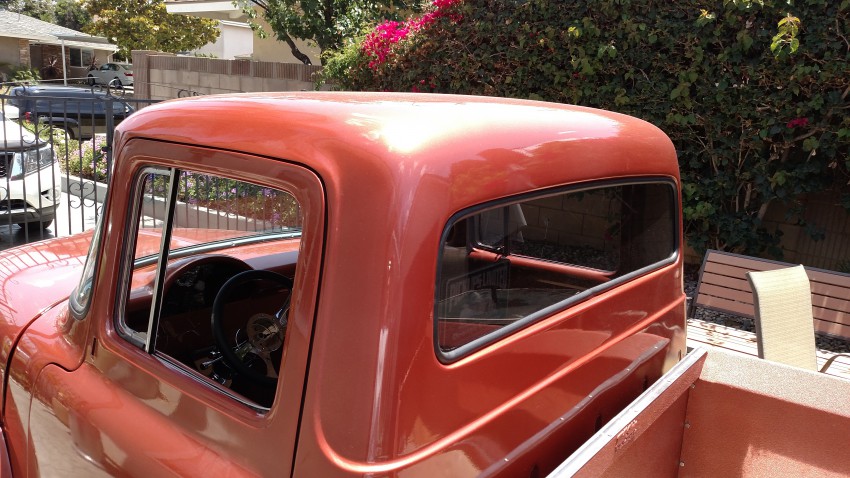
If you never have been its a must do. It’s a two days show and we just seen a few hours. You could spend three days and still need another to finish. It was fun to hang with my fellow members and friends. Enjoy the pics.